Bedroom Makeover Reveal
It’s finally done!
I can’t believe this is the bedroom makeover reveal post! It’s been a while since I’ve done a rental renovation reveal but this one has been my favourite. Mainly because this is the room I see first thing in the morning and last thing at night. The room makes me feel calm and prepared, the best feelings to have first thing in the morning. The transformation has been huge. But just don’t take my word for it, here are the before photos for your entertainment…
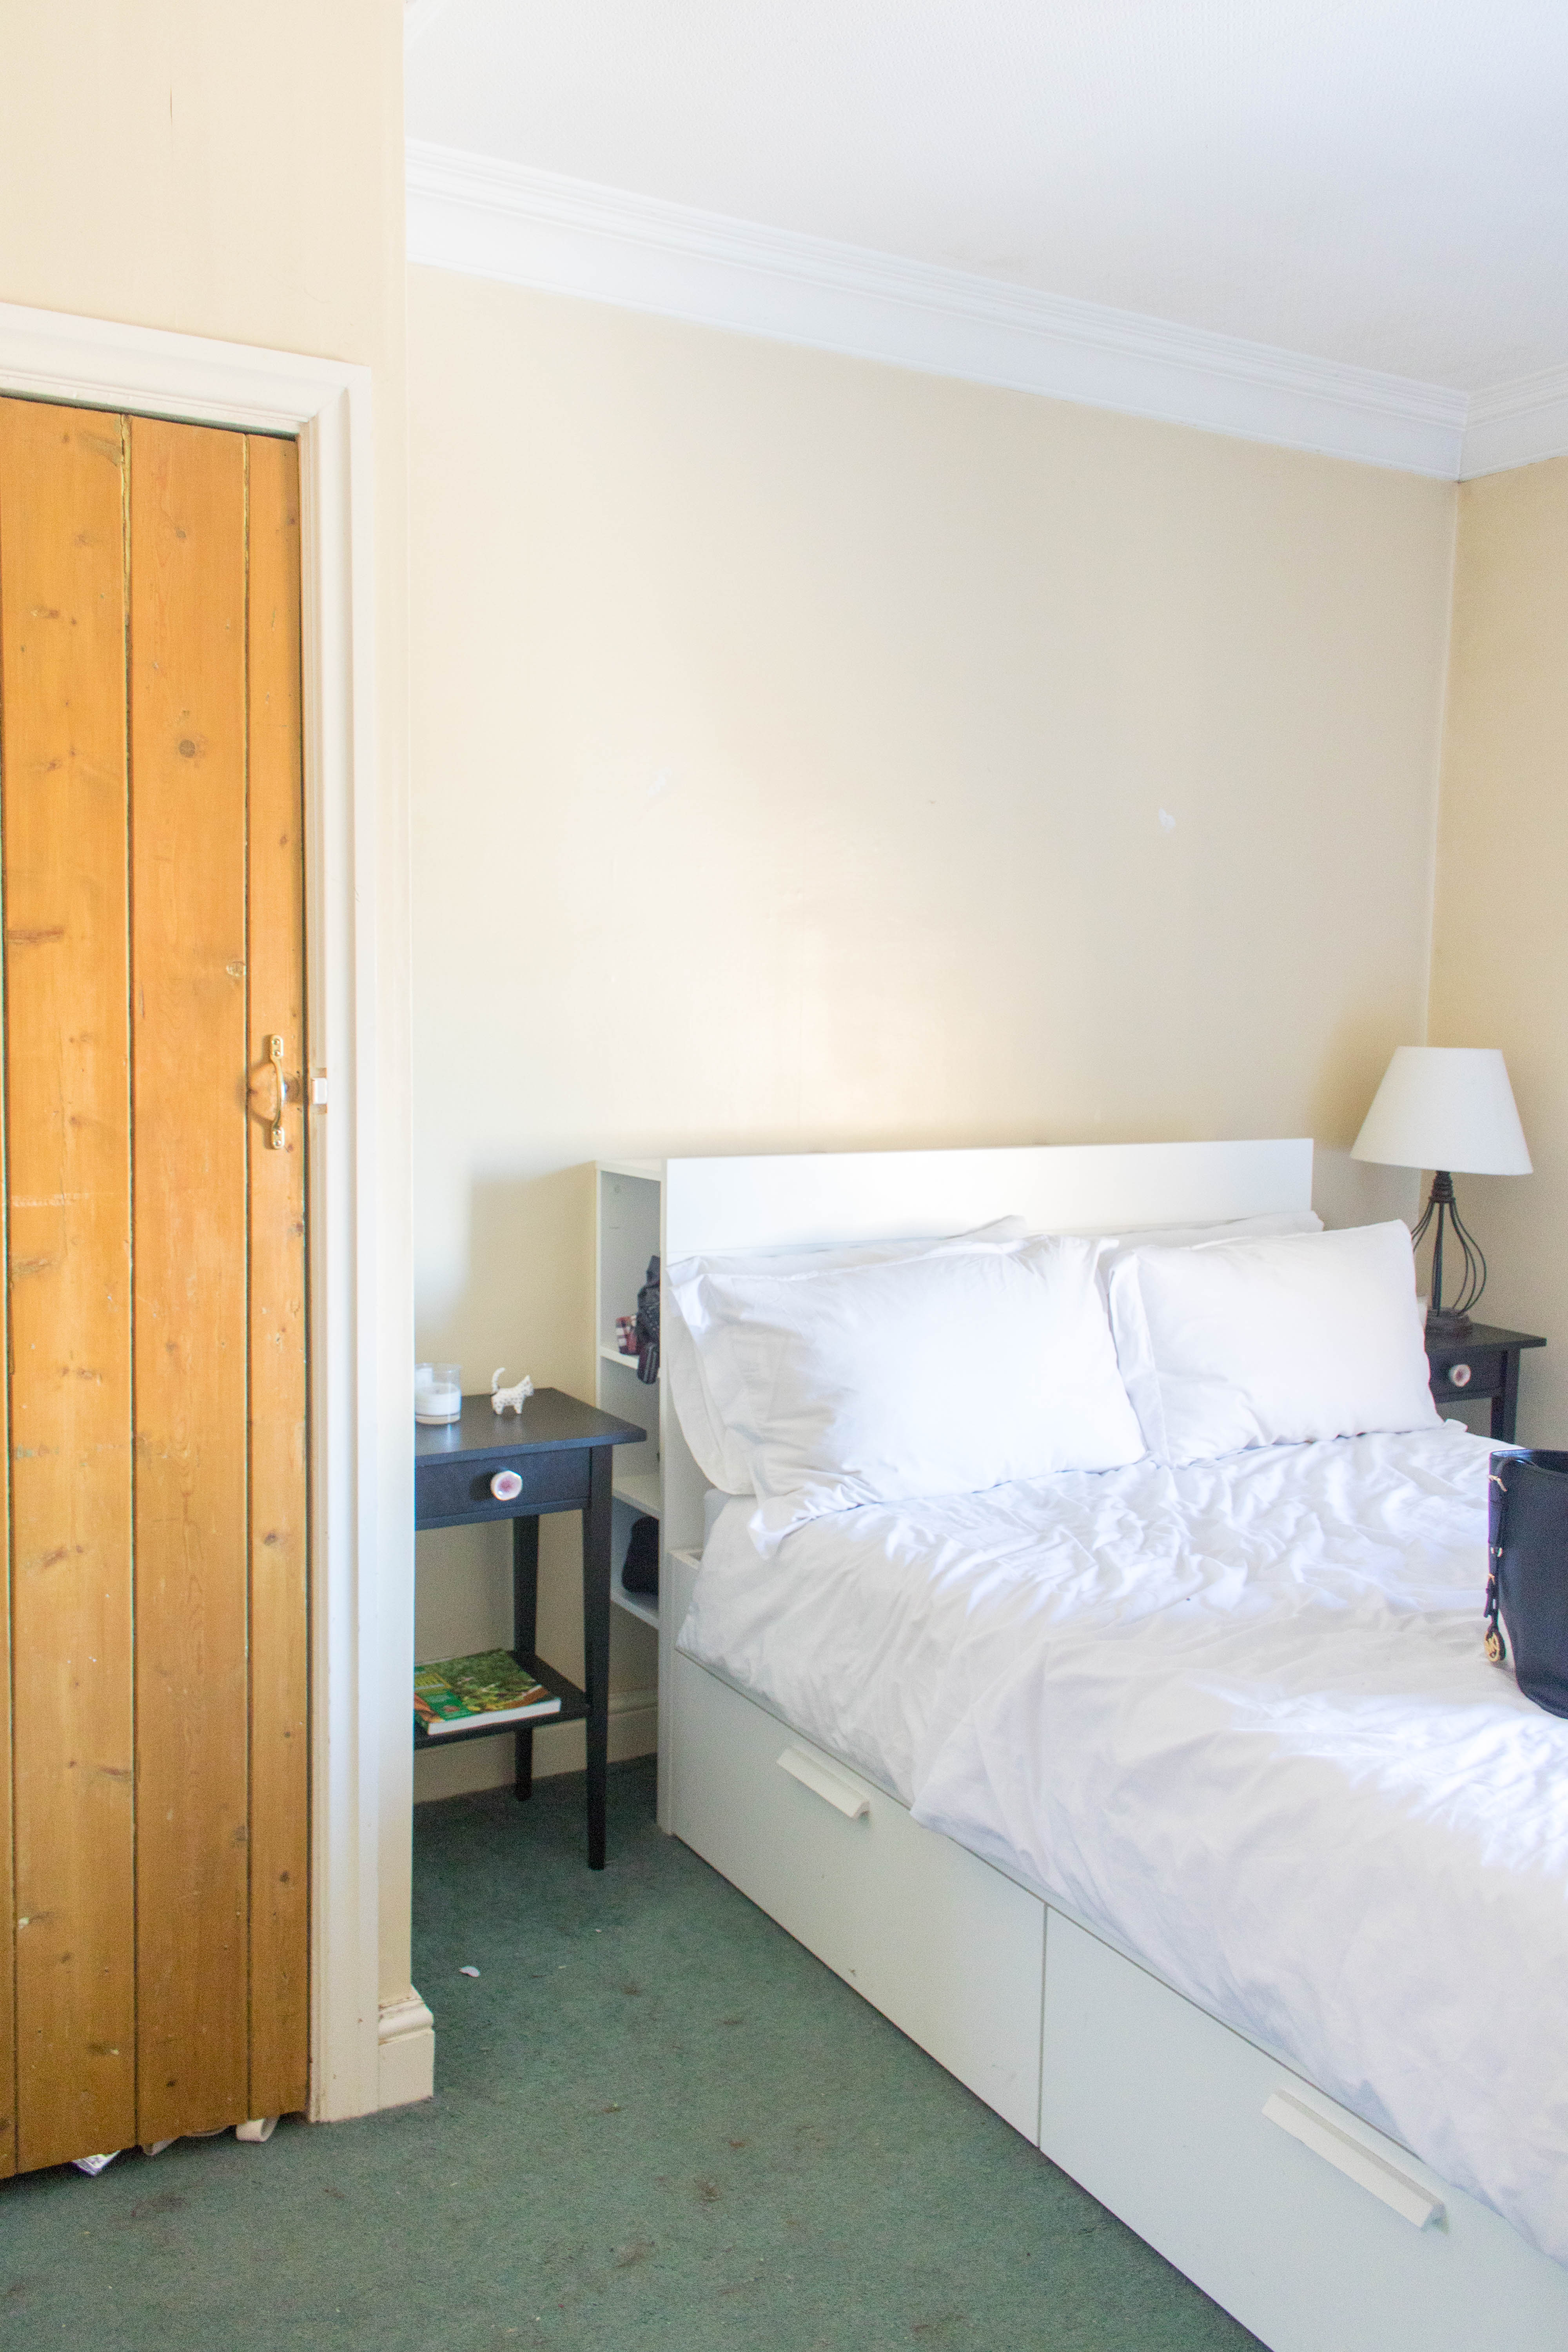
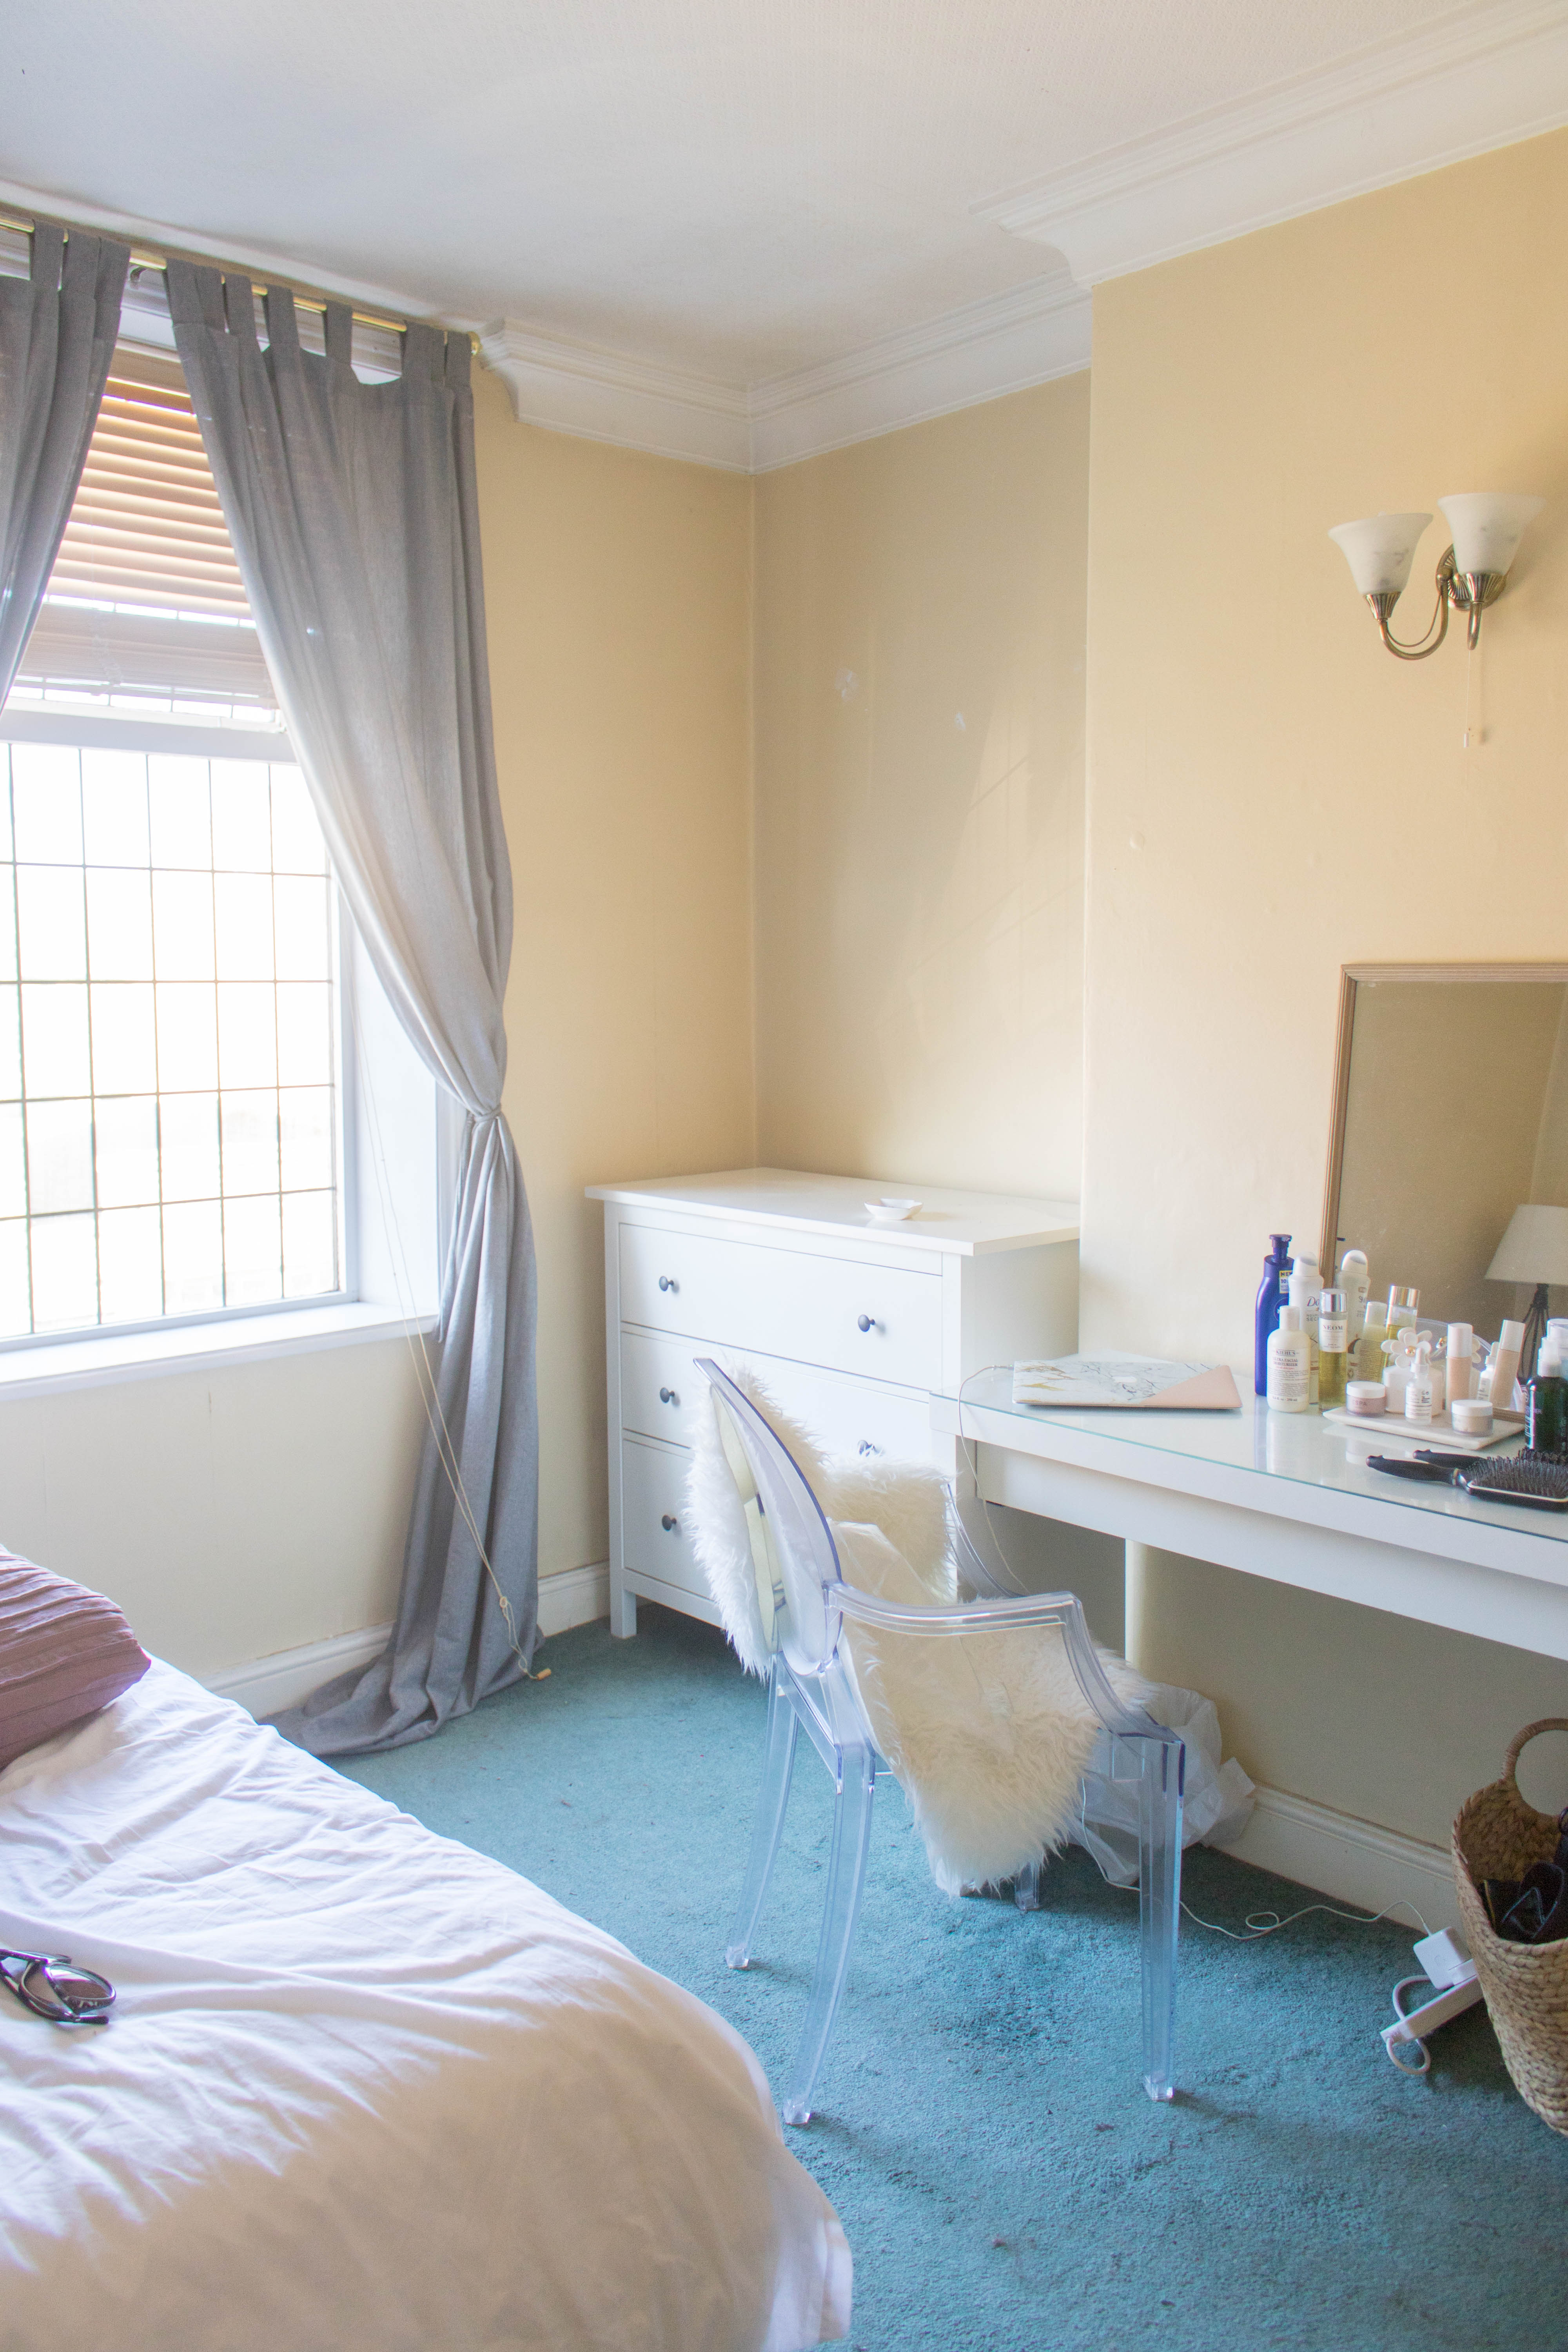

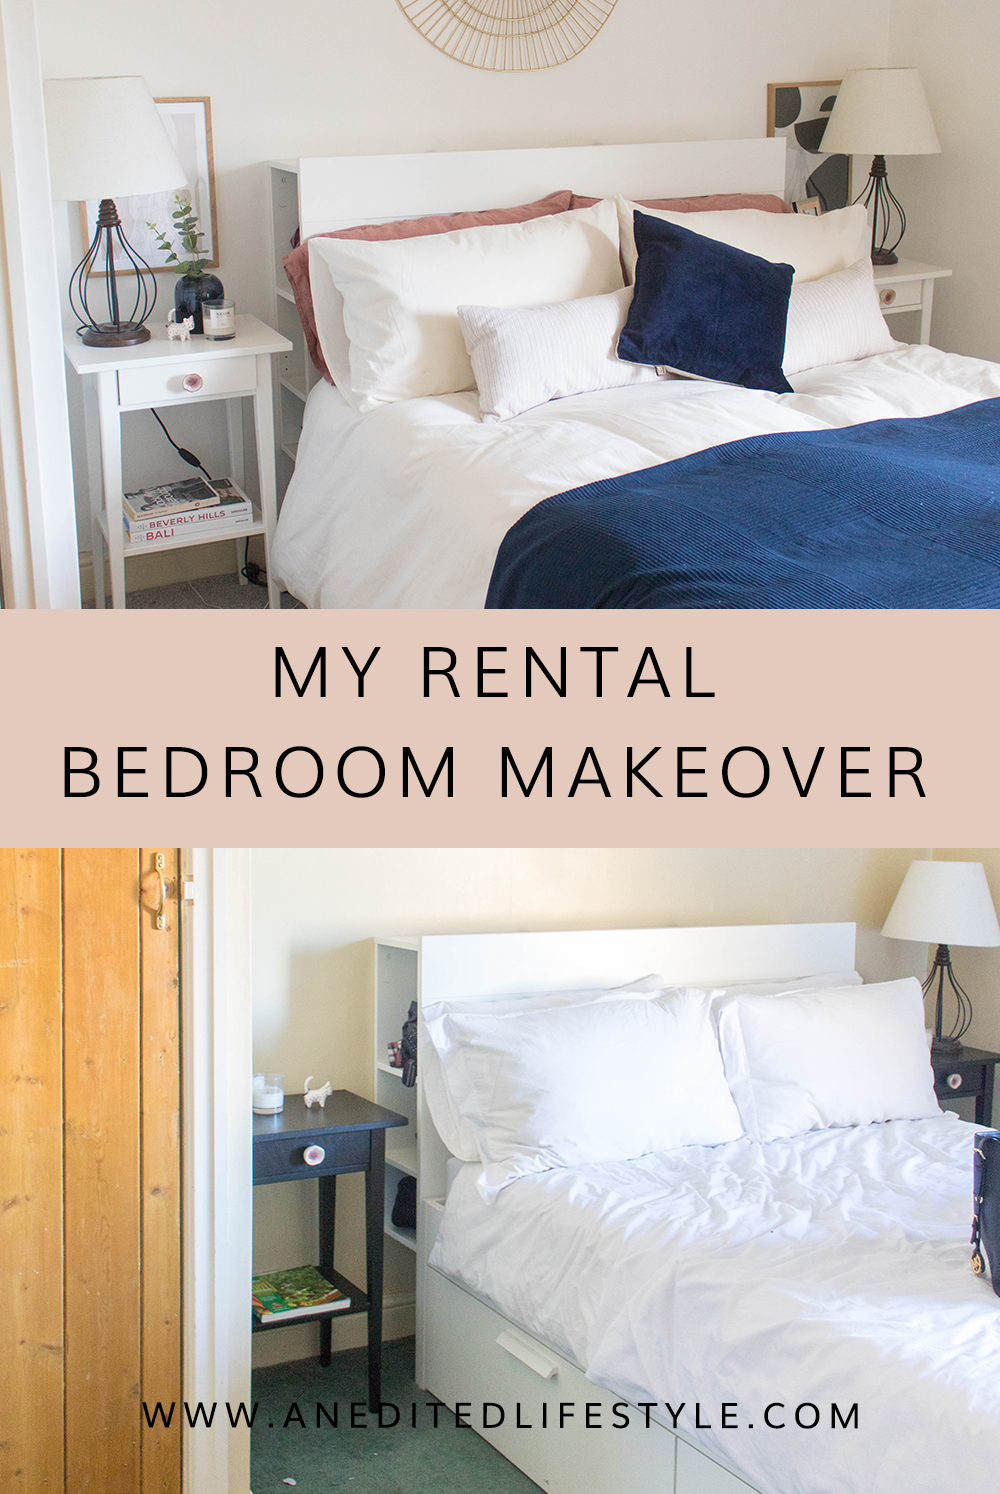
THE BEFORE
As you can see, it was an interesting space to live in. That carpet. No matter how much I hoovered and scrubbed it, it would not get cleaned! The wallpaper just sucked the light out of the space. I’ve been looking forward to making over the room for a long time. As we don’t spend a lot of time in this room, it was one of the last spaces we gave a makeover. I’m so glad we got this bedroom makeover done before the end of the year. With the colder evening coming in, I wanted the room to feel cosy and welcoming.
The first thing to deal with was the carpet. After a house inspection, I emailed our landlord asking if she’d be willing to replace the carpet in the bedroom. Thankfully, she agreed and even let me choose the carpet colour. With this planned, it was time to get painting the walls. The first thing that I do in any rental room makeover…
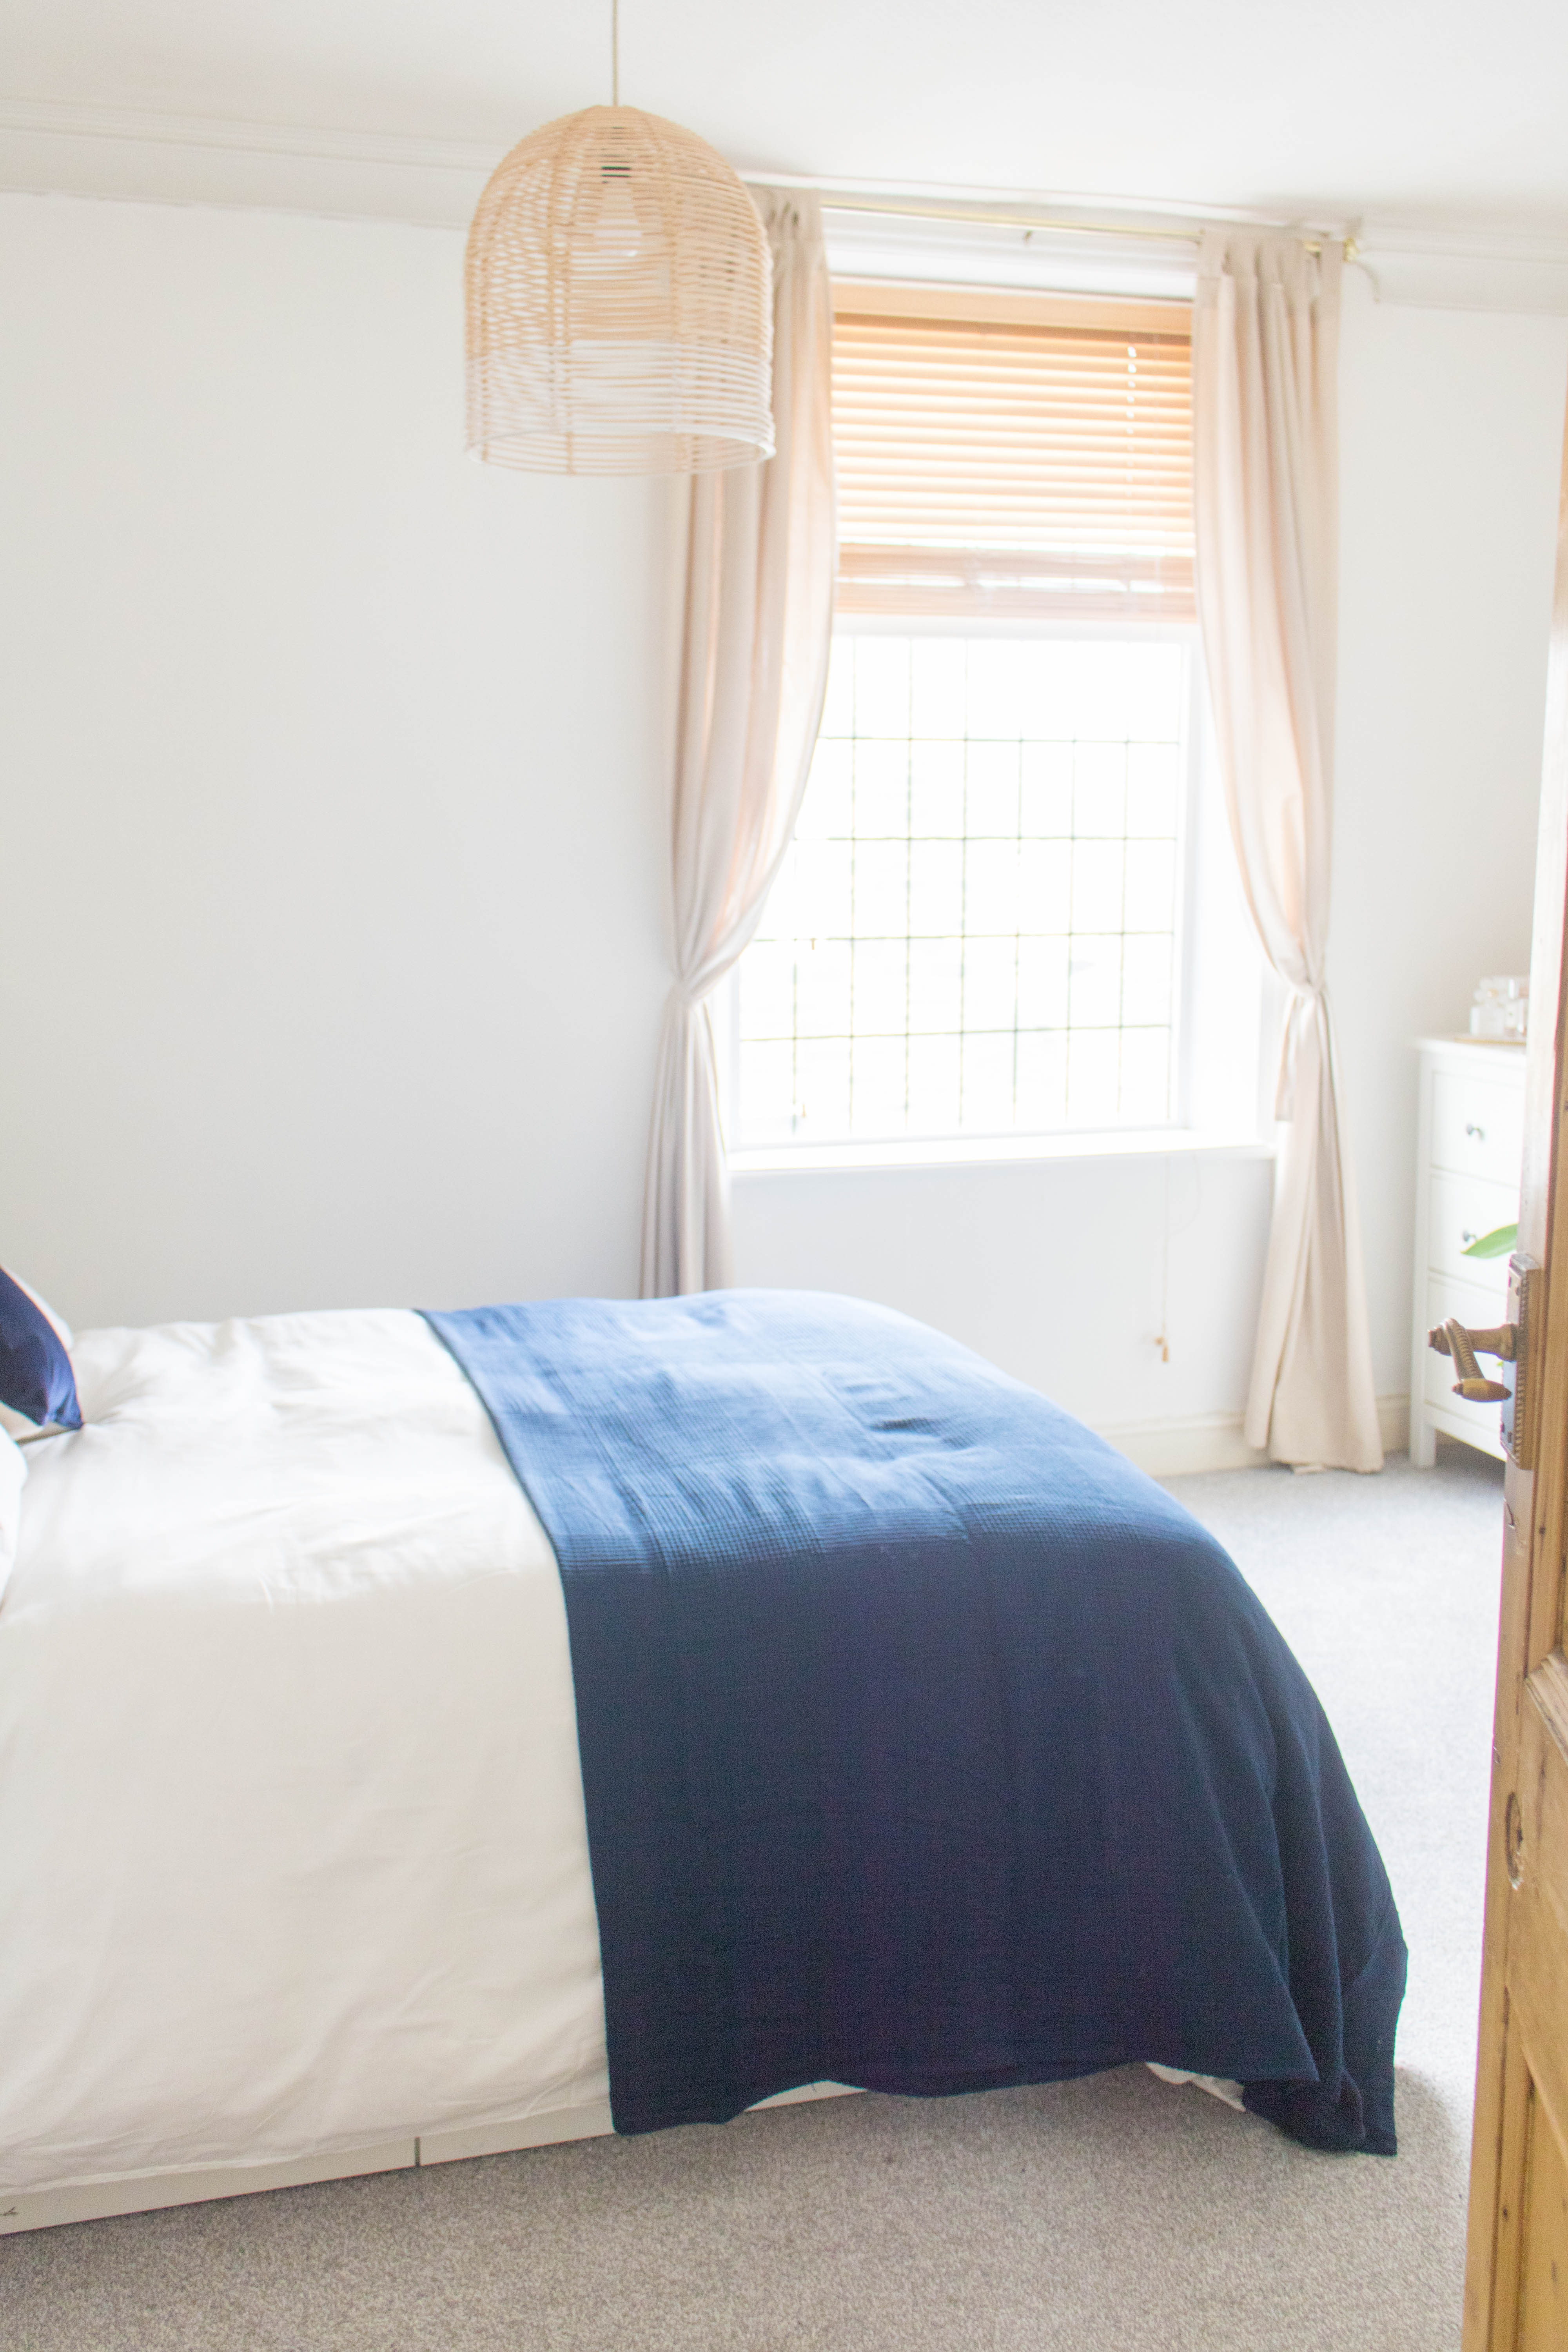
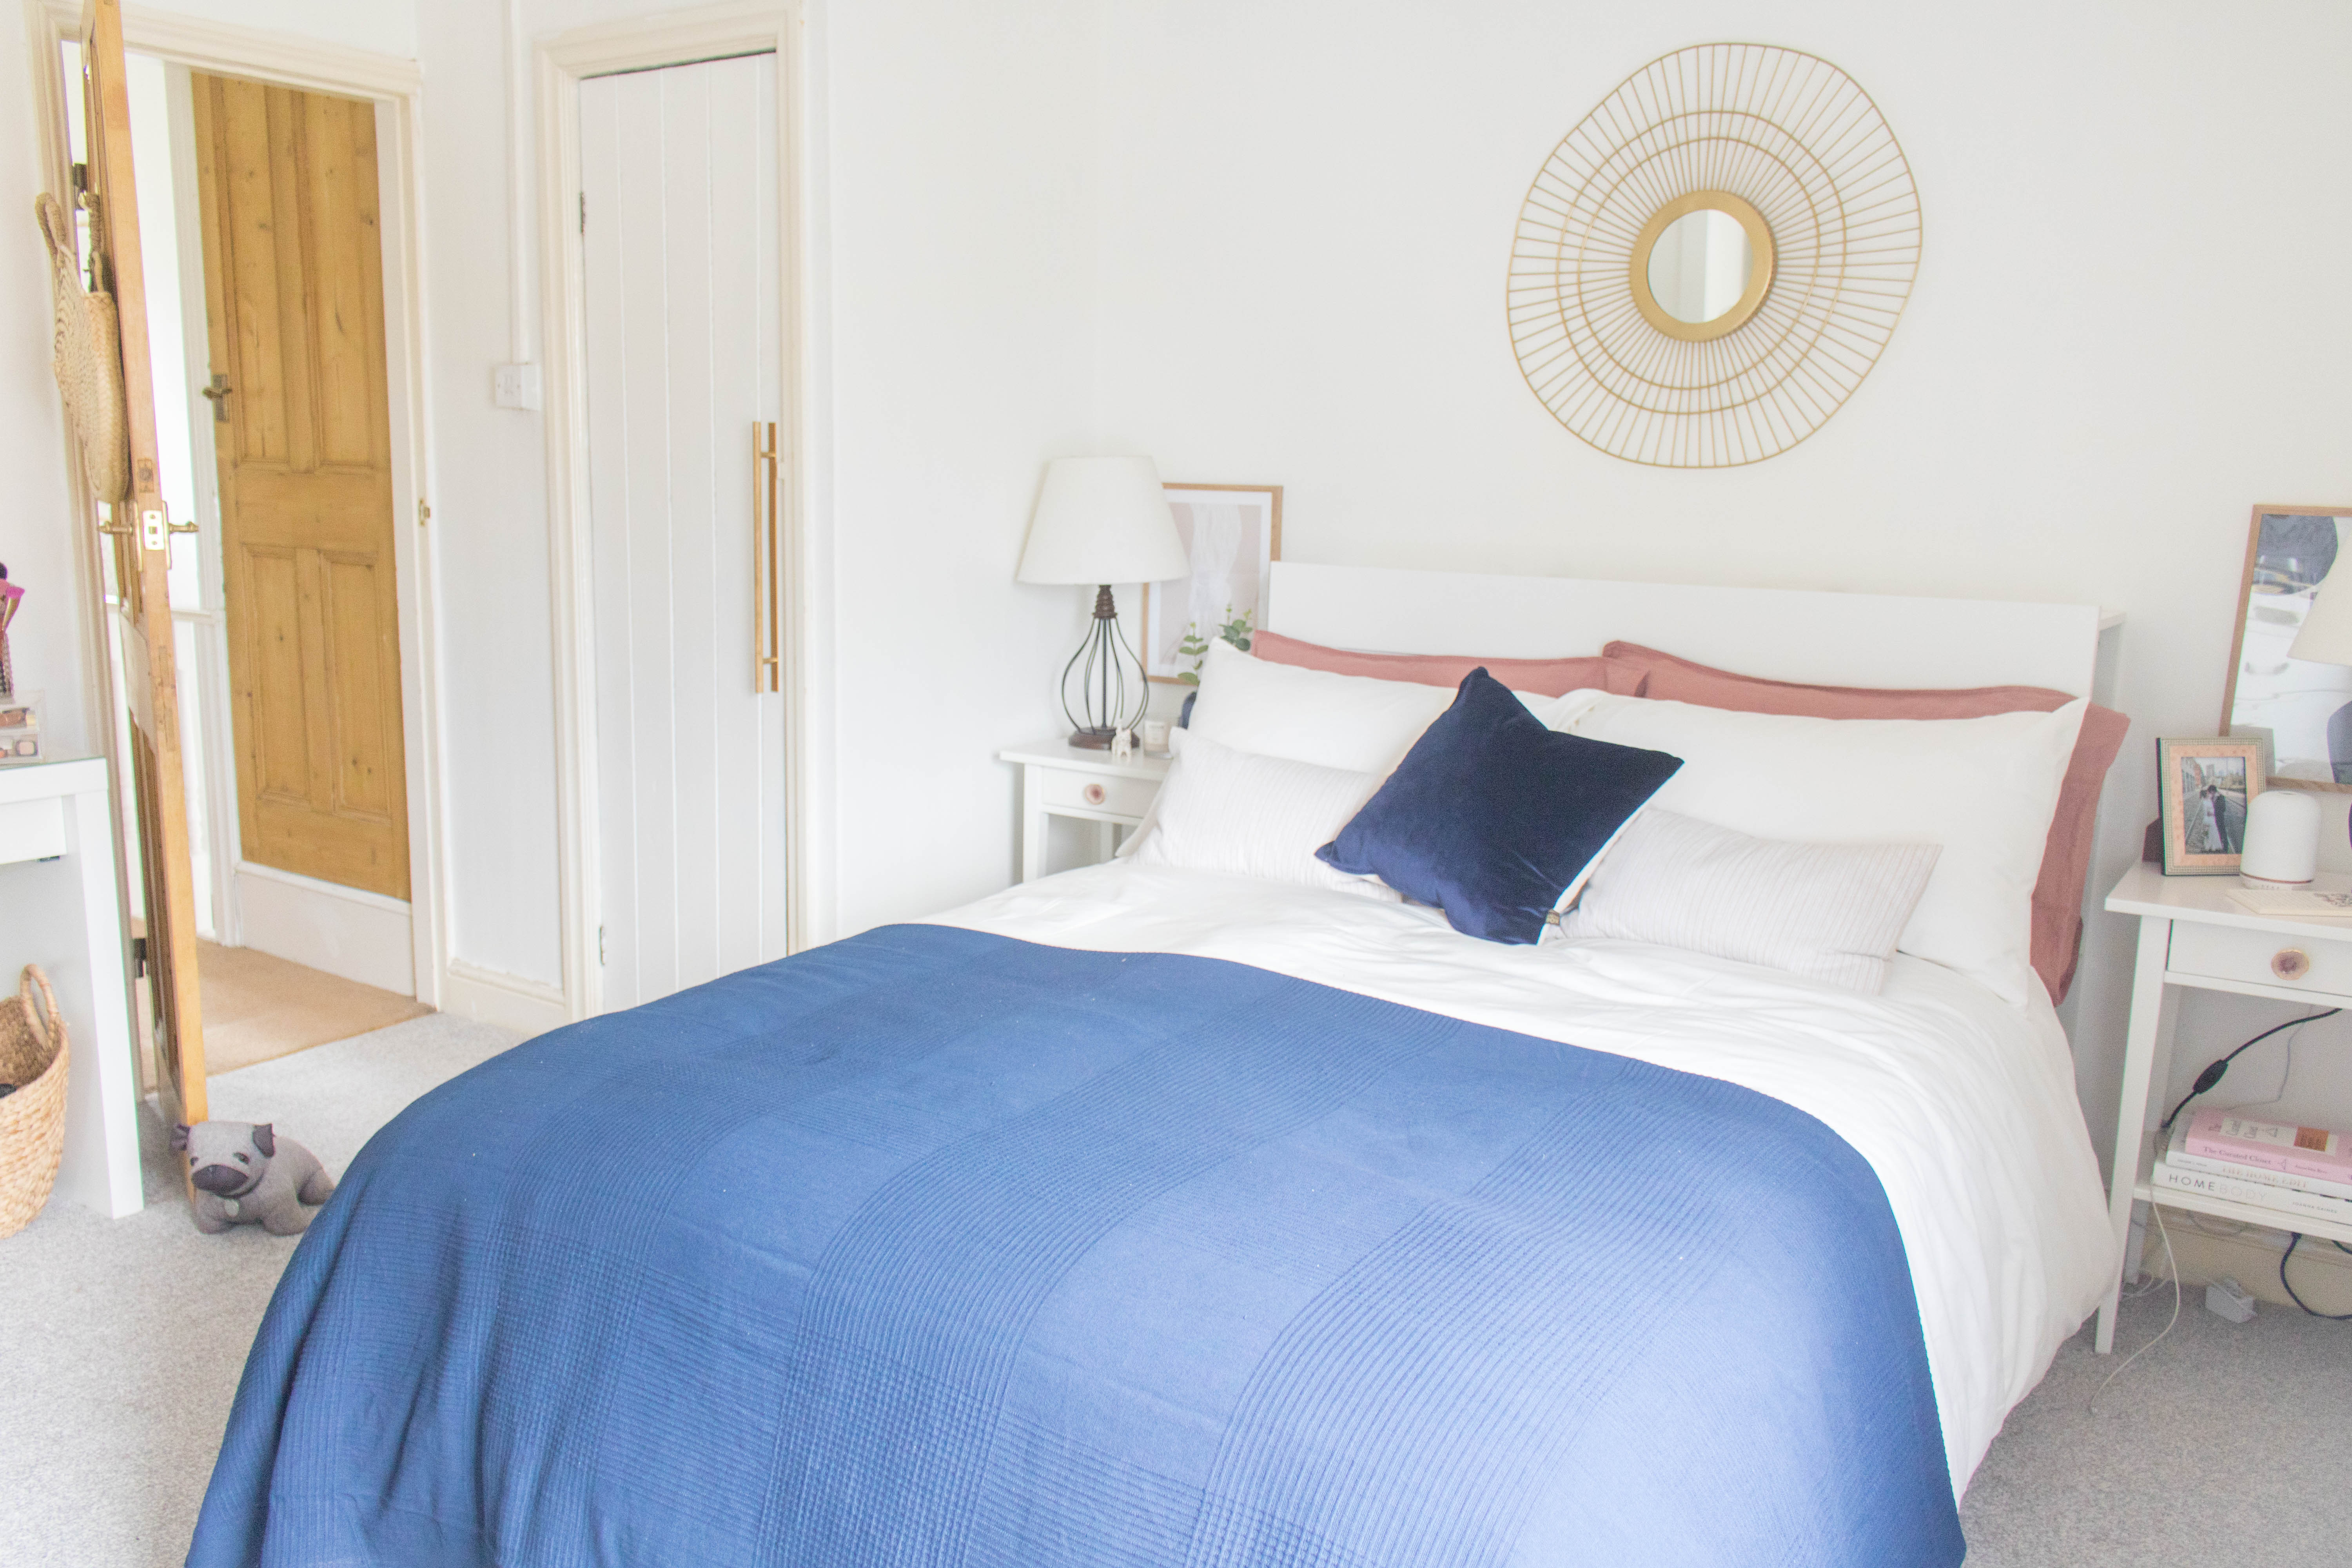
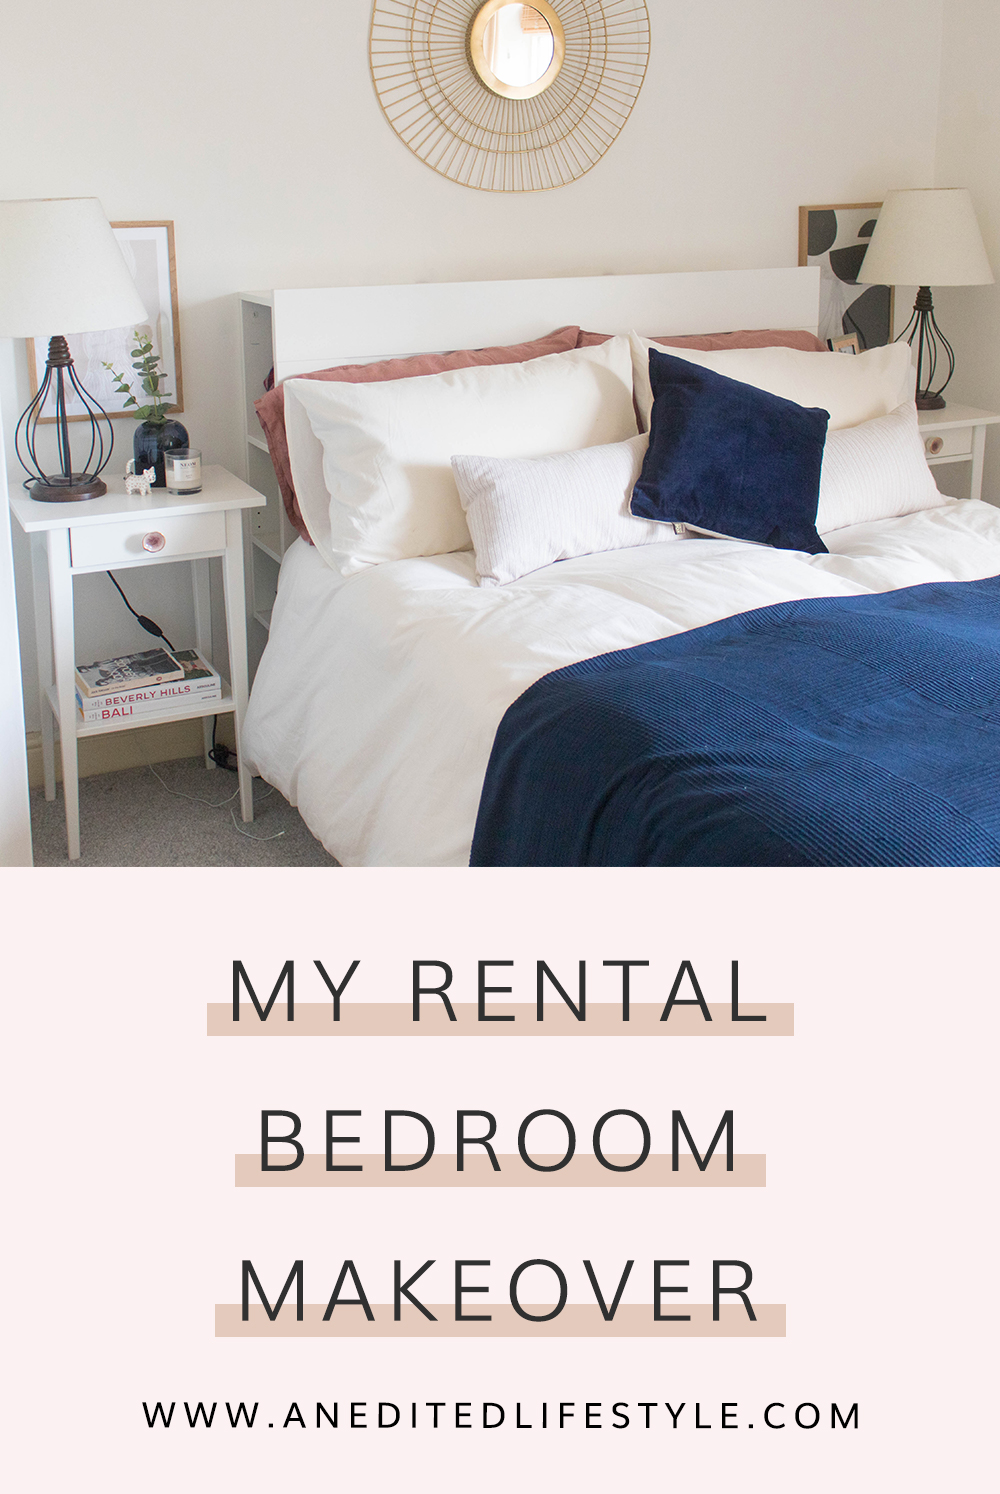
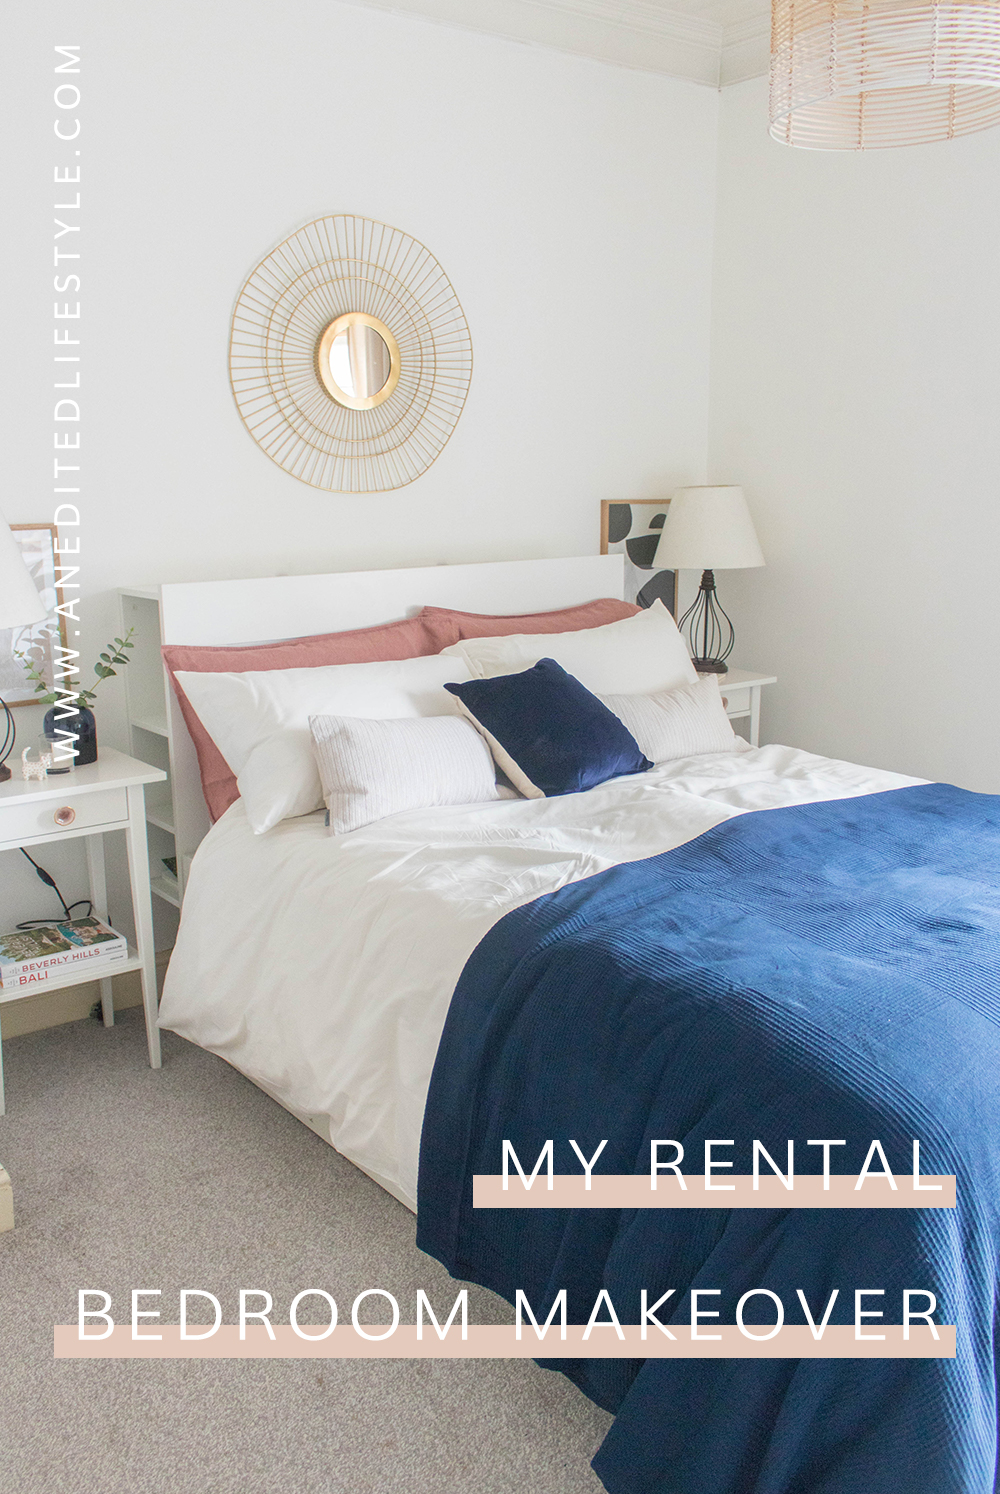
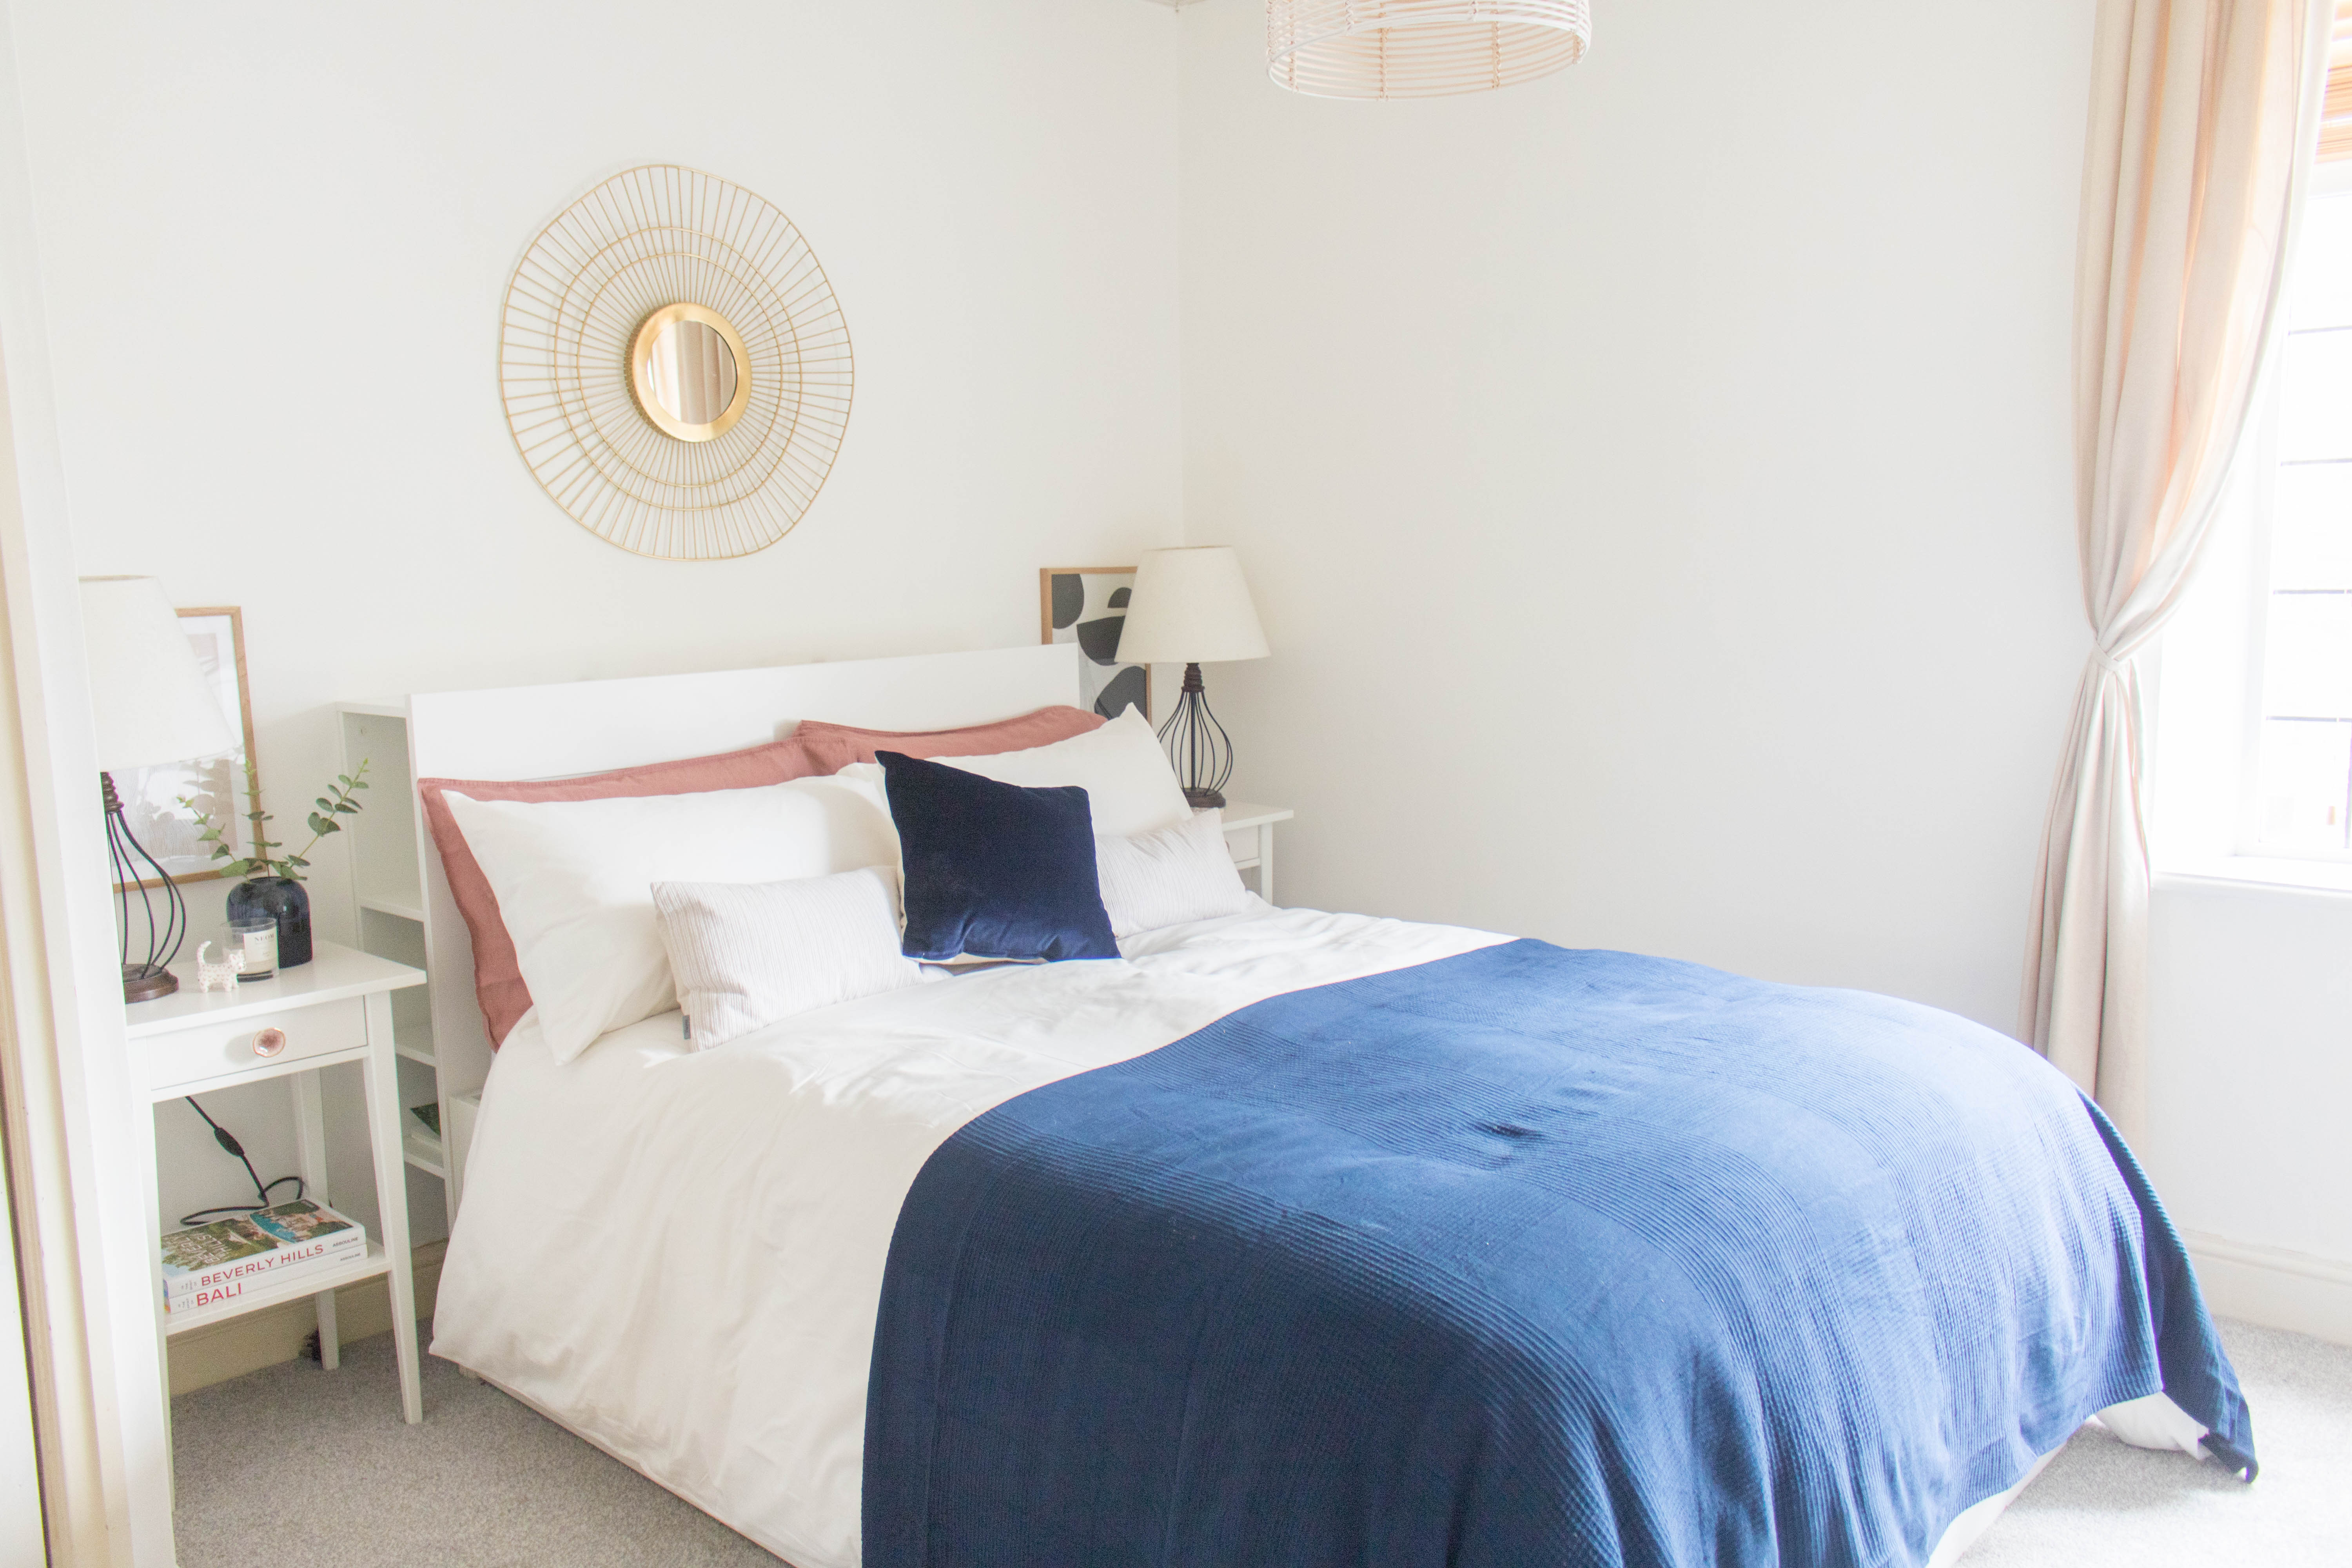
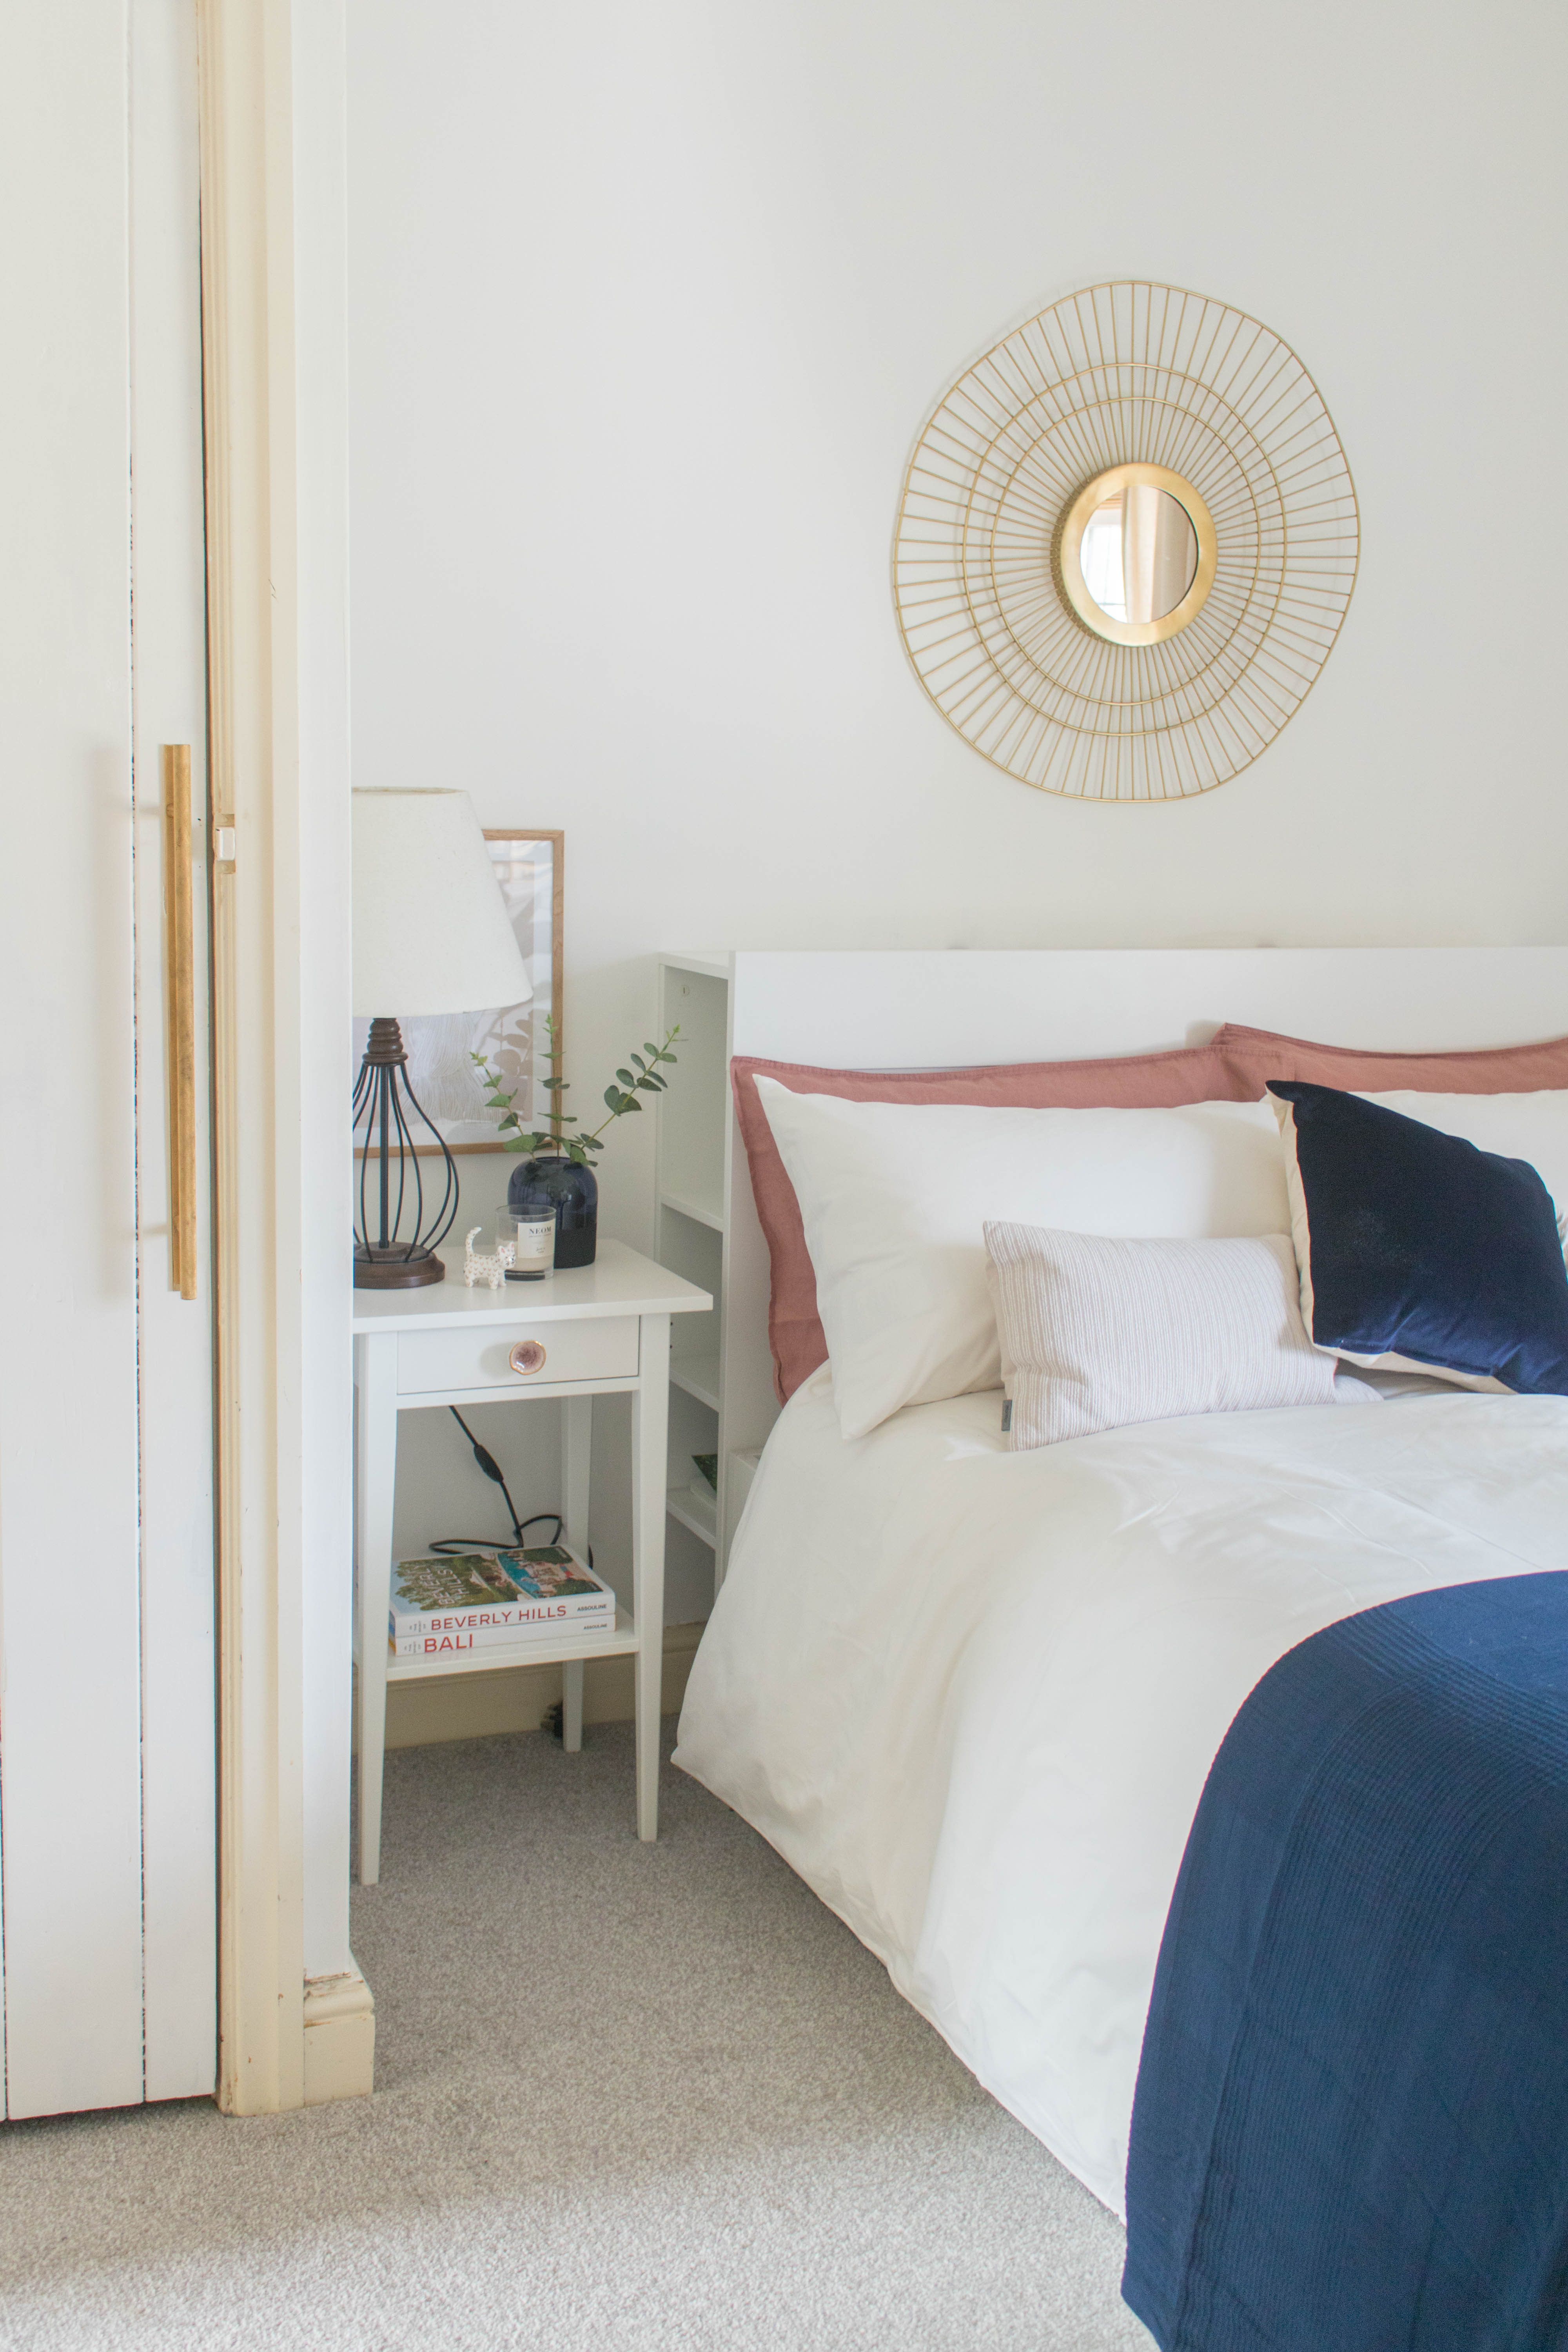
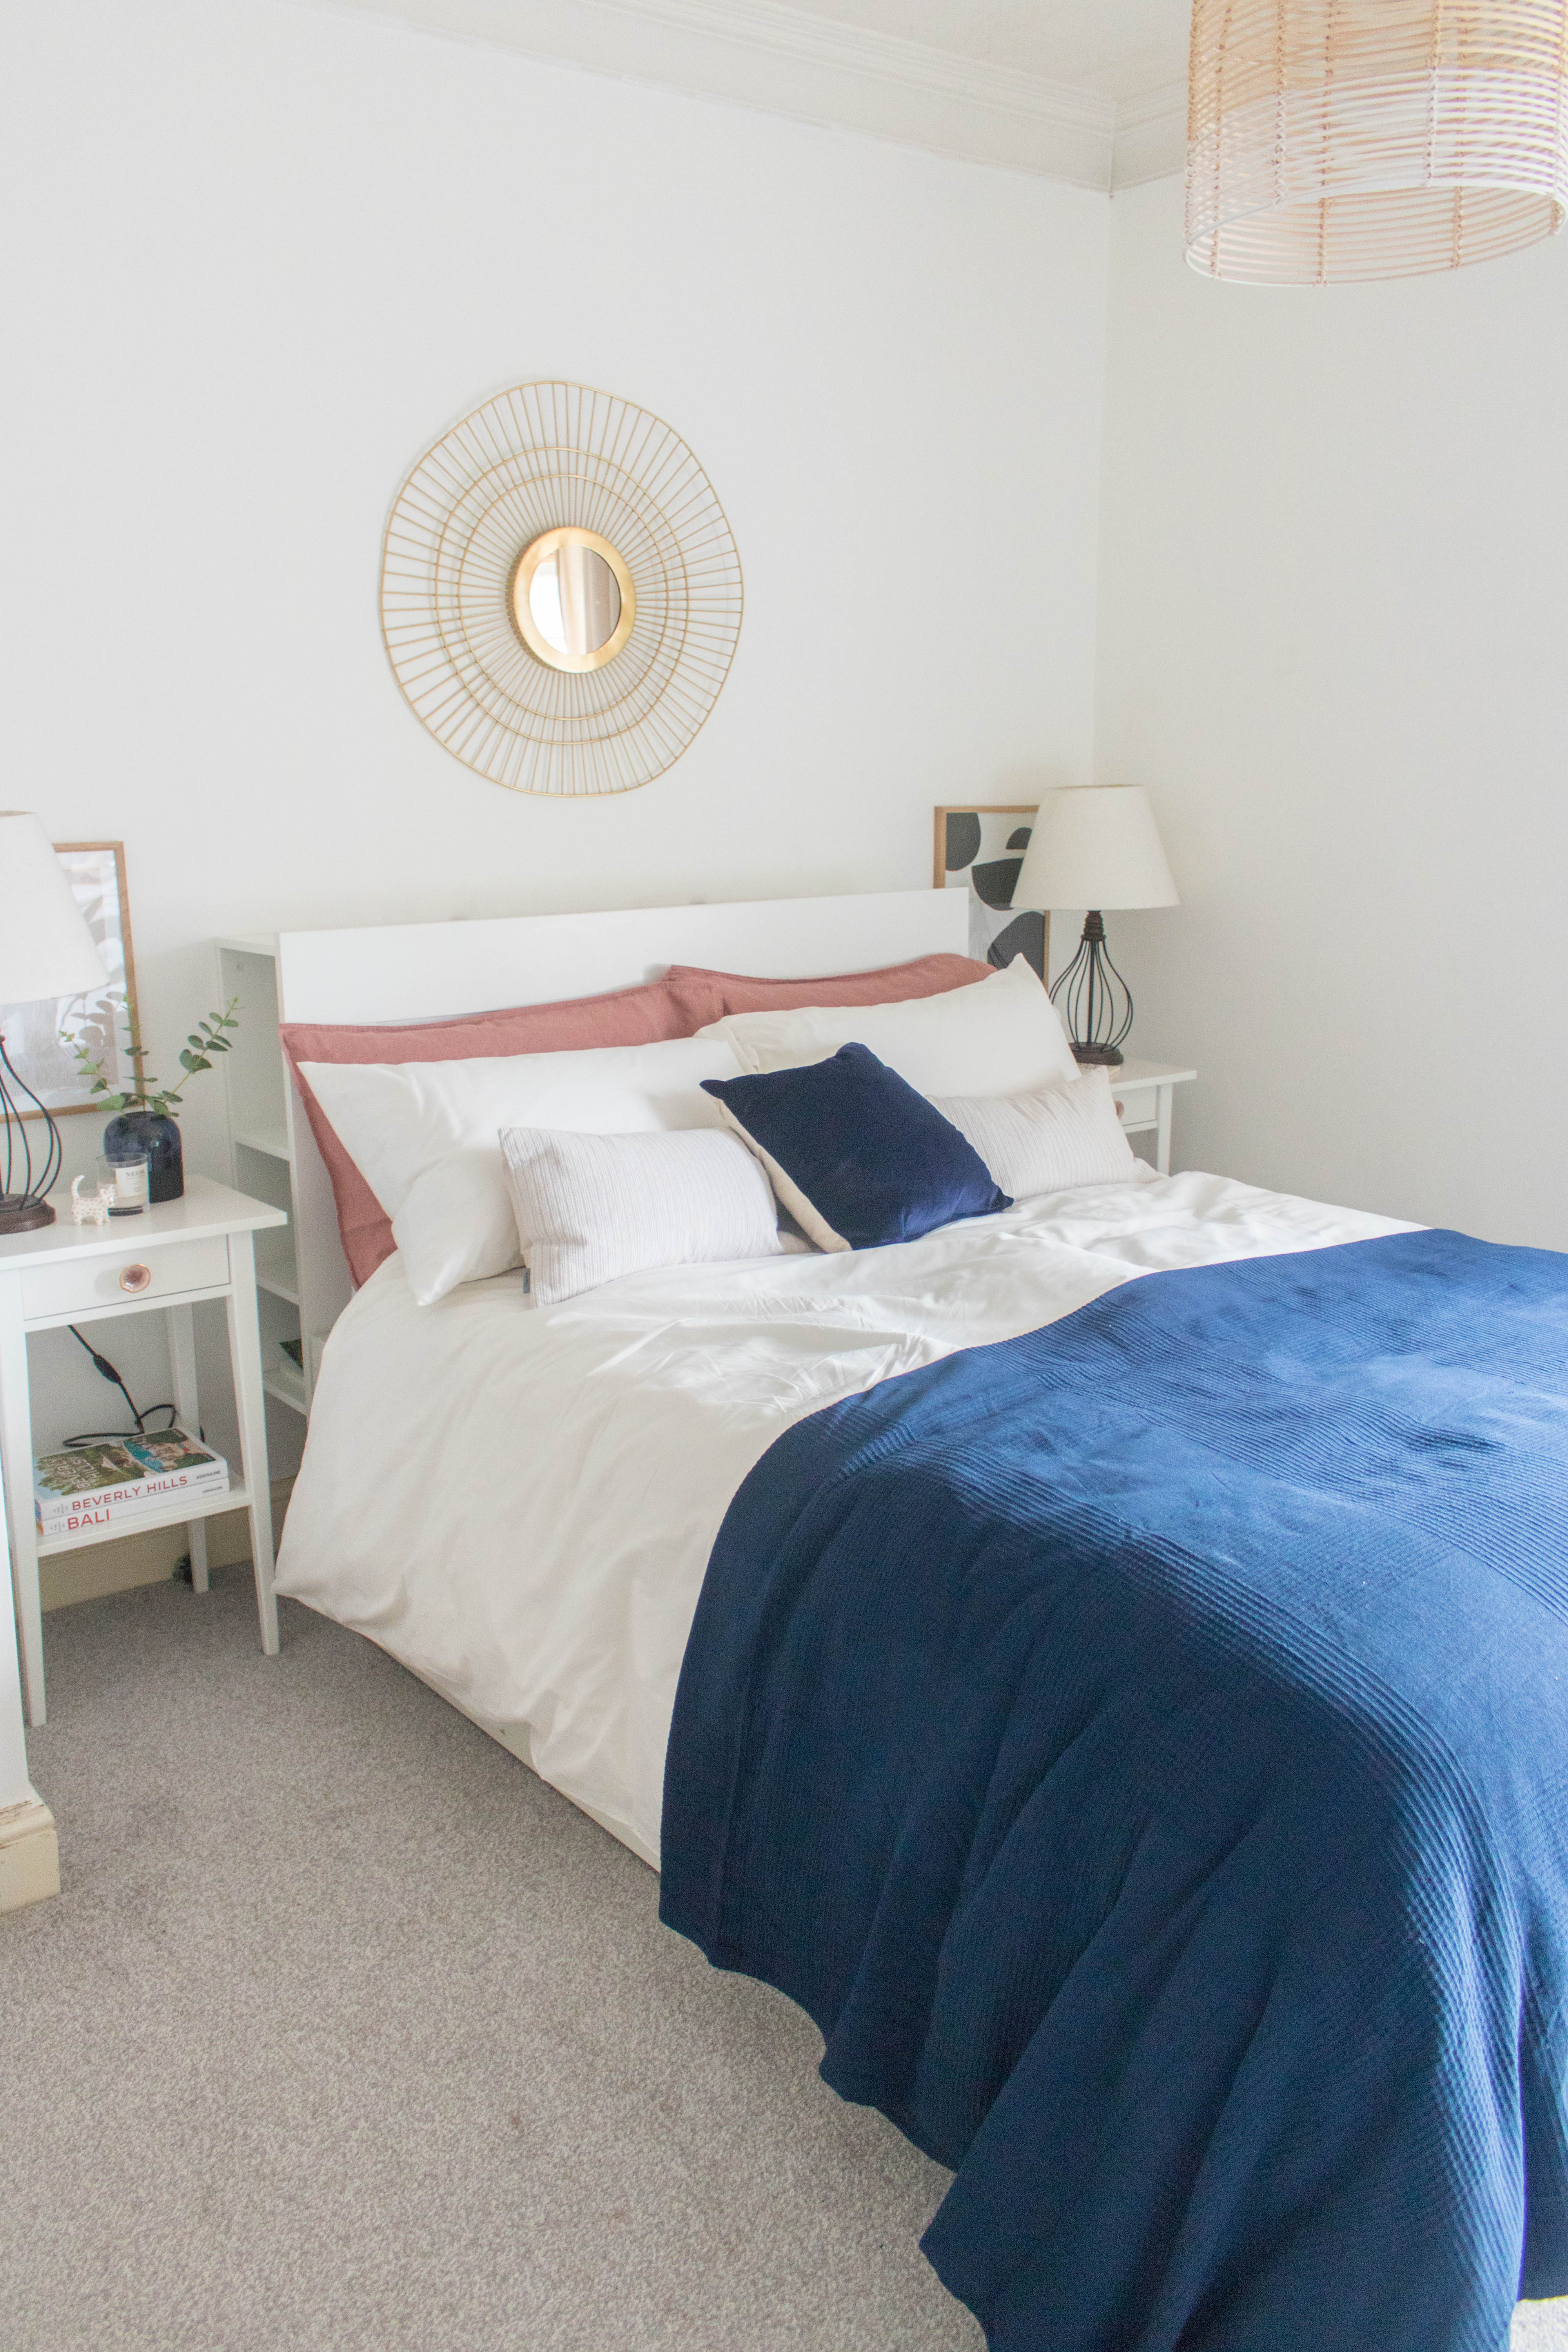
THE AFTER.
For the walls, we painted them the usual white. It’s the same emulsion we used in our hallway makeover, pretty much used throughout the house. If you’re a renter and are given permission to paint, 100% go for it. Paint makes such a difference in a space. It’s super cheap (you can spend as much or as little as you want) and easy to put on the walls.
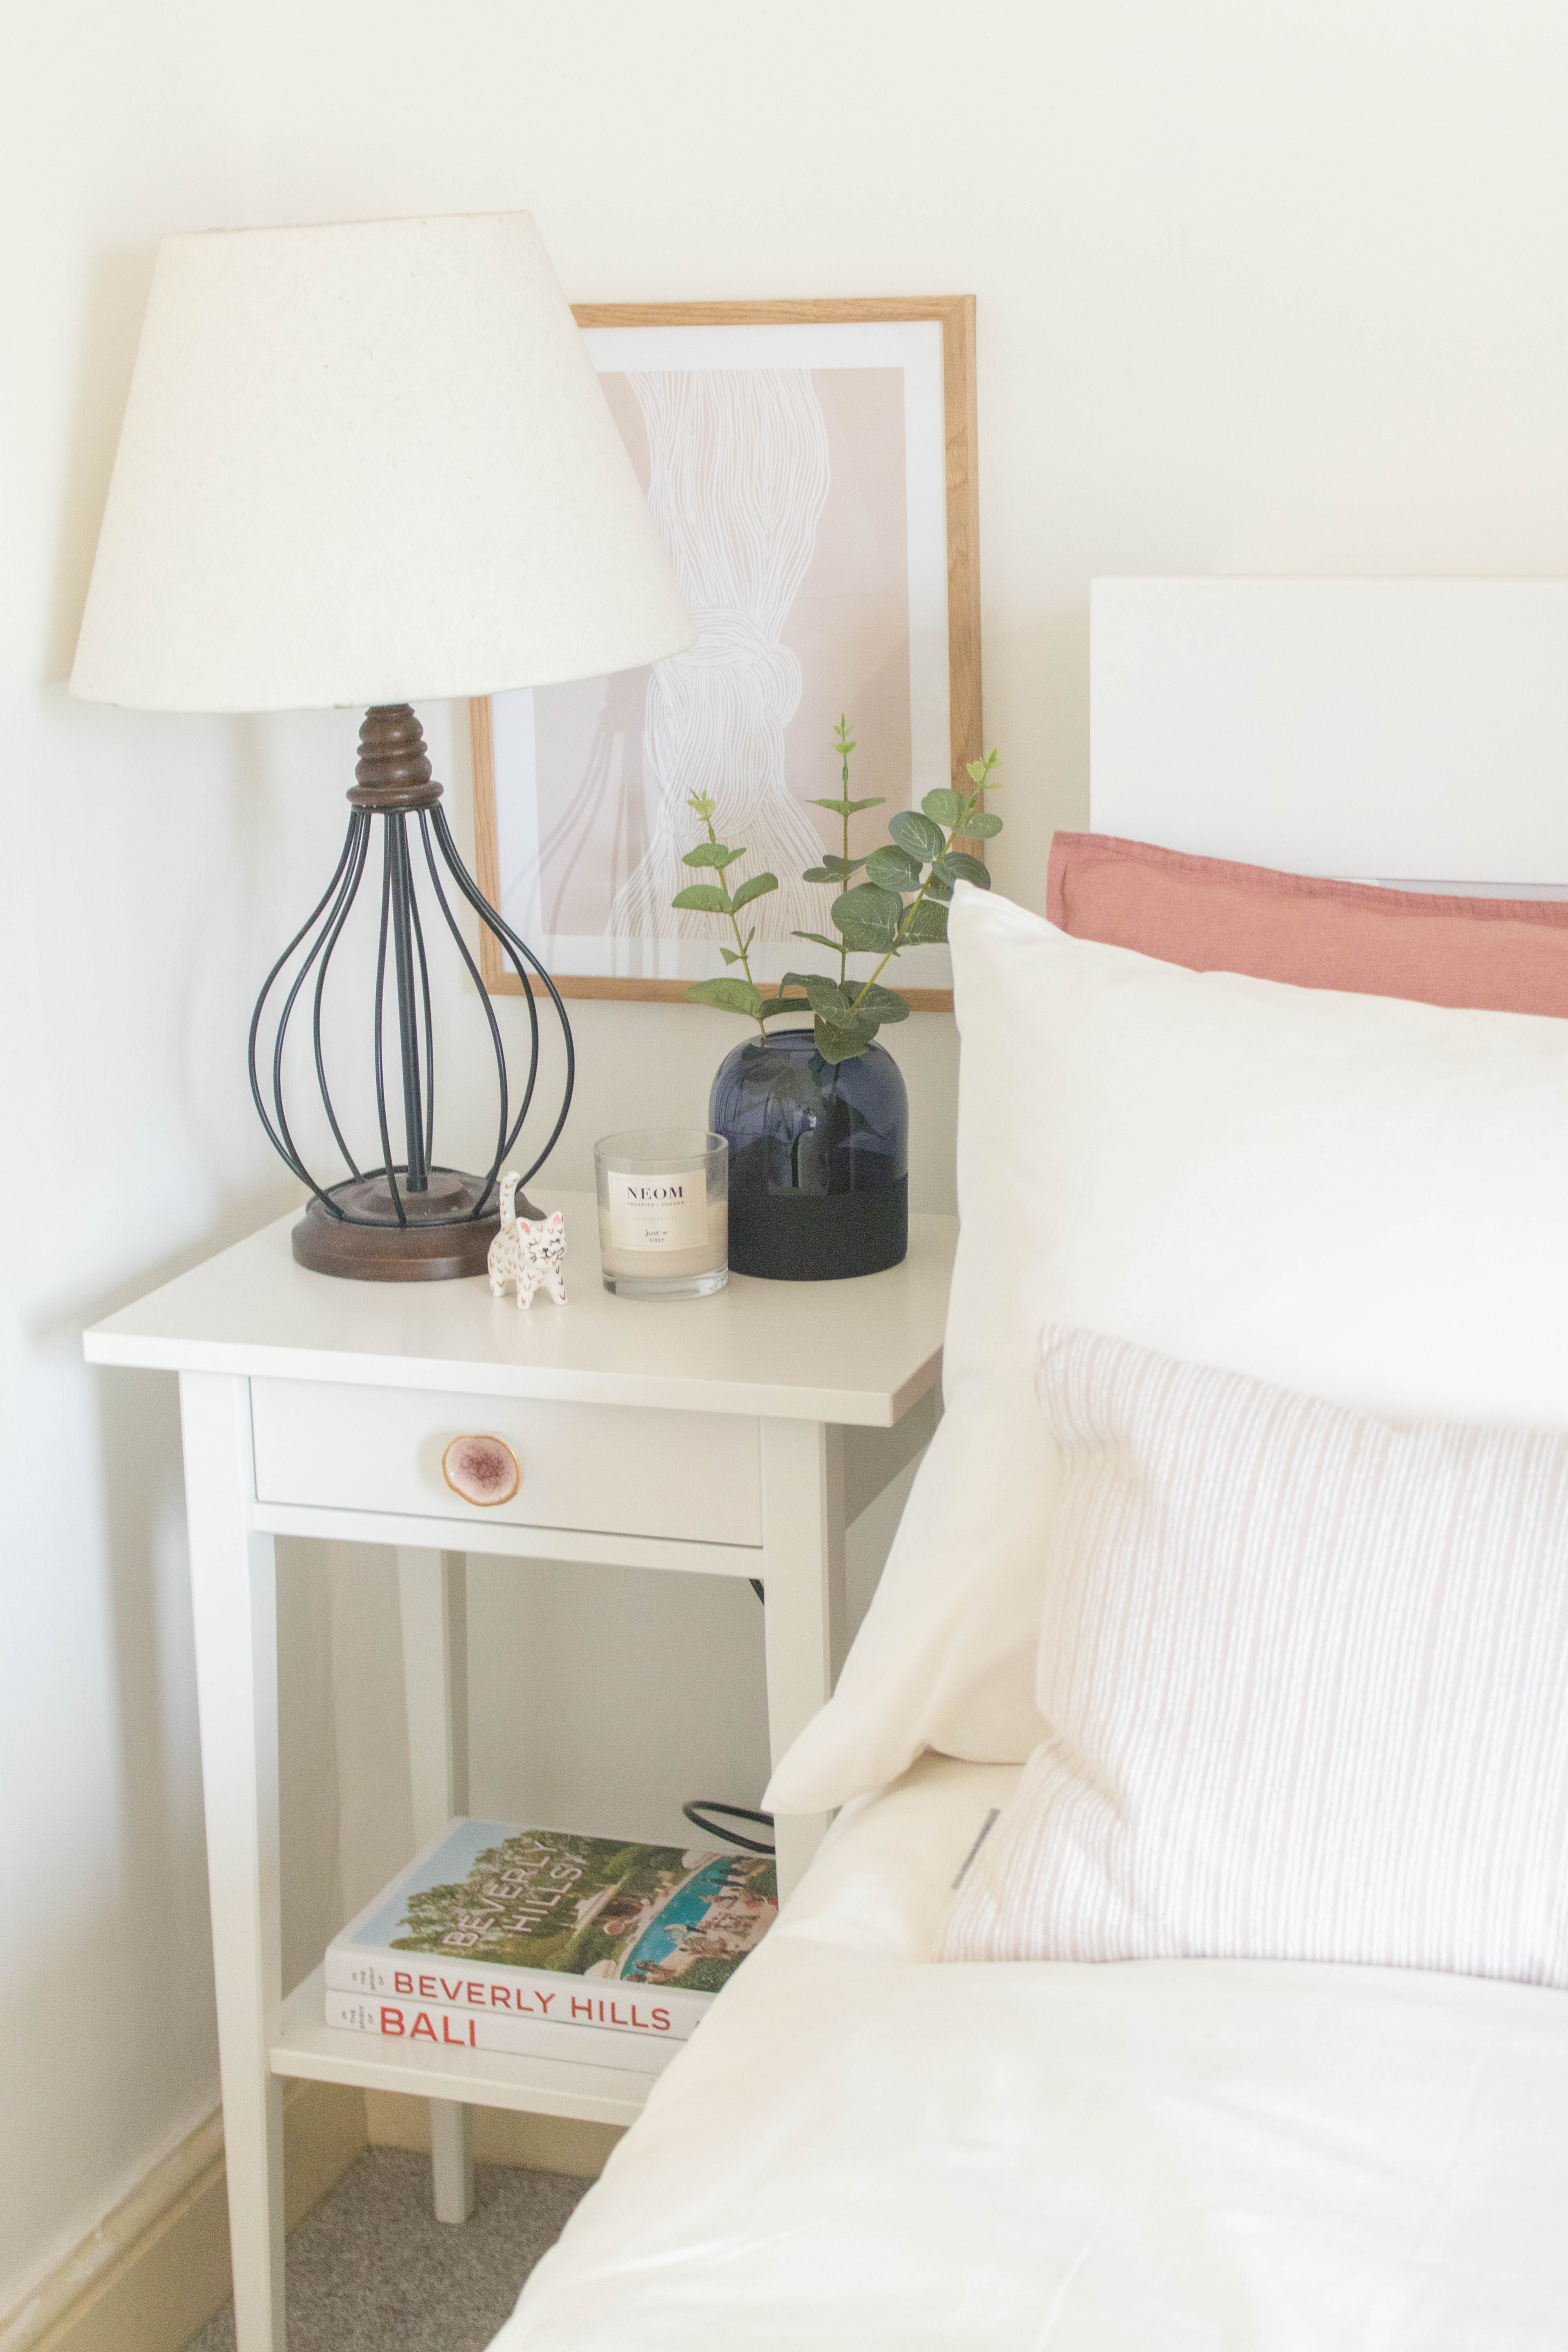
Once we painted the walls, it was time for the furniture. We had the Hemnes bedside tables in black/brown for a while but I’ve always wanted them in white to match the bed frame, so I treated myself to them. They have lightened up the room and are so much easier to clean than the darker ones.
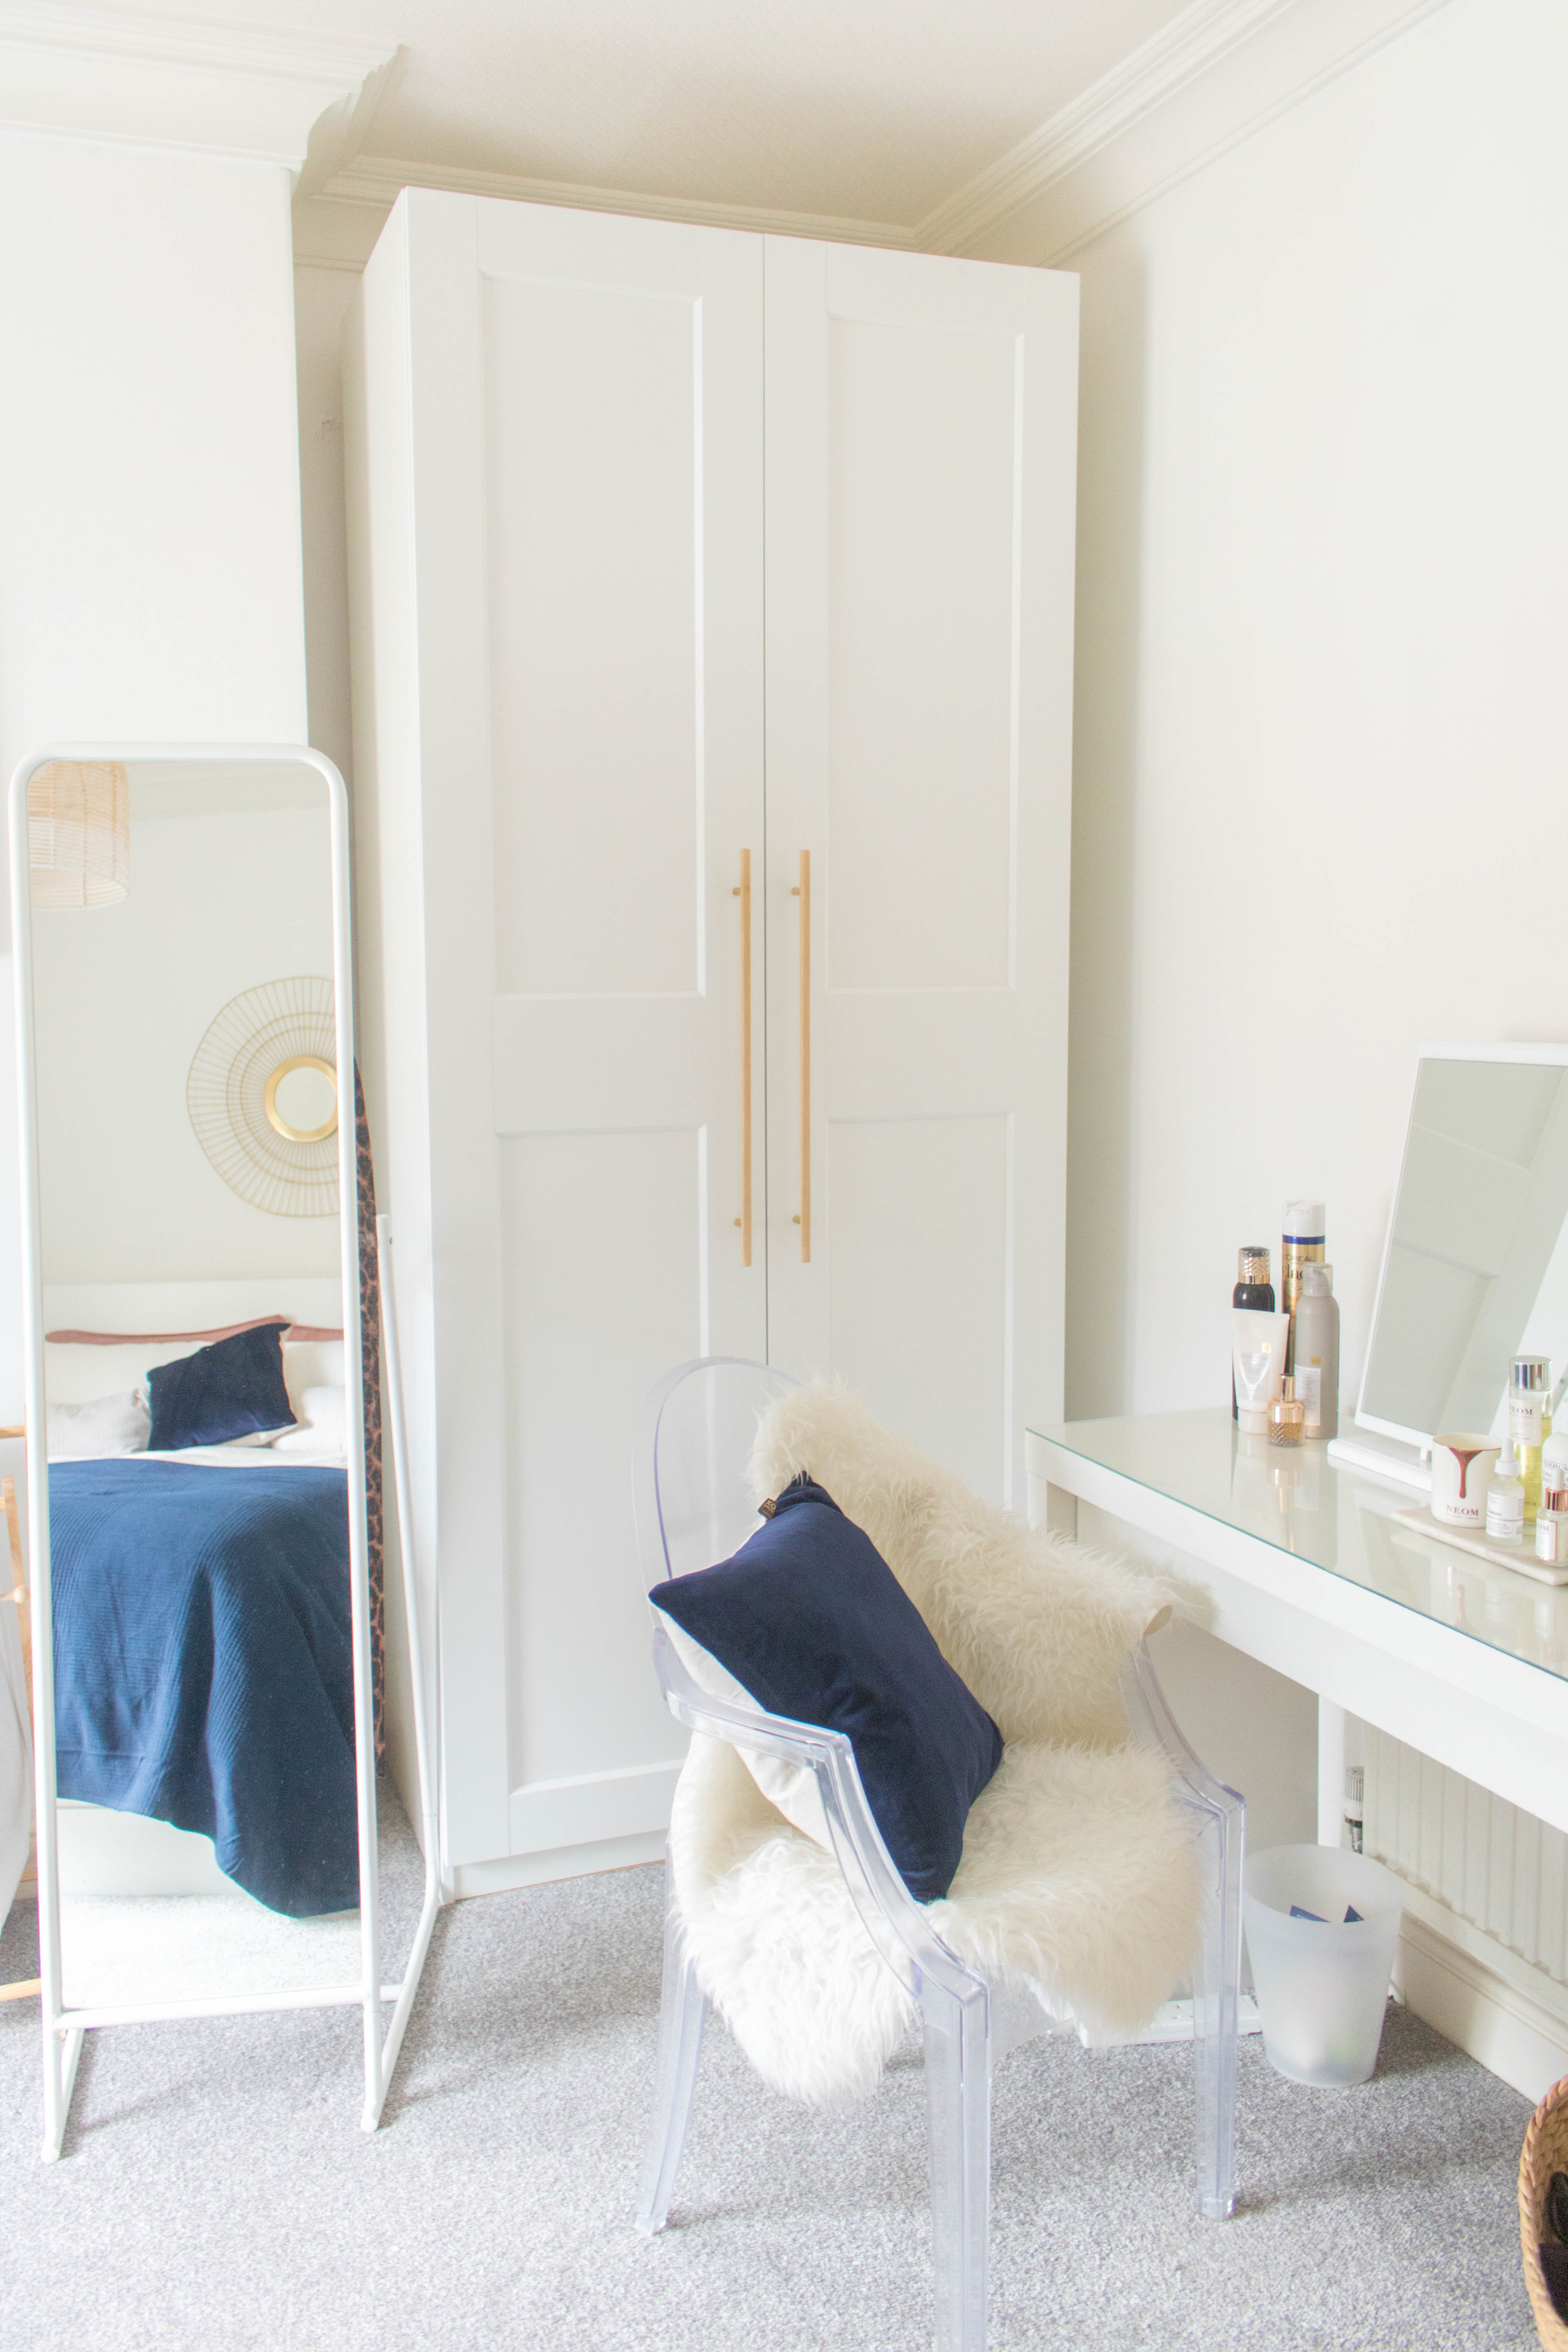
Once that was sorted, it was finally time to sort out the wardrobes. You may have heard about wardrobe-gate on my Instagram Stories. To cut a long story short, Lee and I had problems fixing them to the walls. And worried that it was going to fall on us when the doors were added like in was illustrated in the instructions, we were getting more and more frustrated with the project. In the end, I took an office poll and most who did have Pax wardrobes didn’t fix the wardrobes to the walls. So we risked it. And so far, have not been crushed!
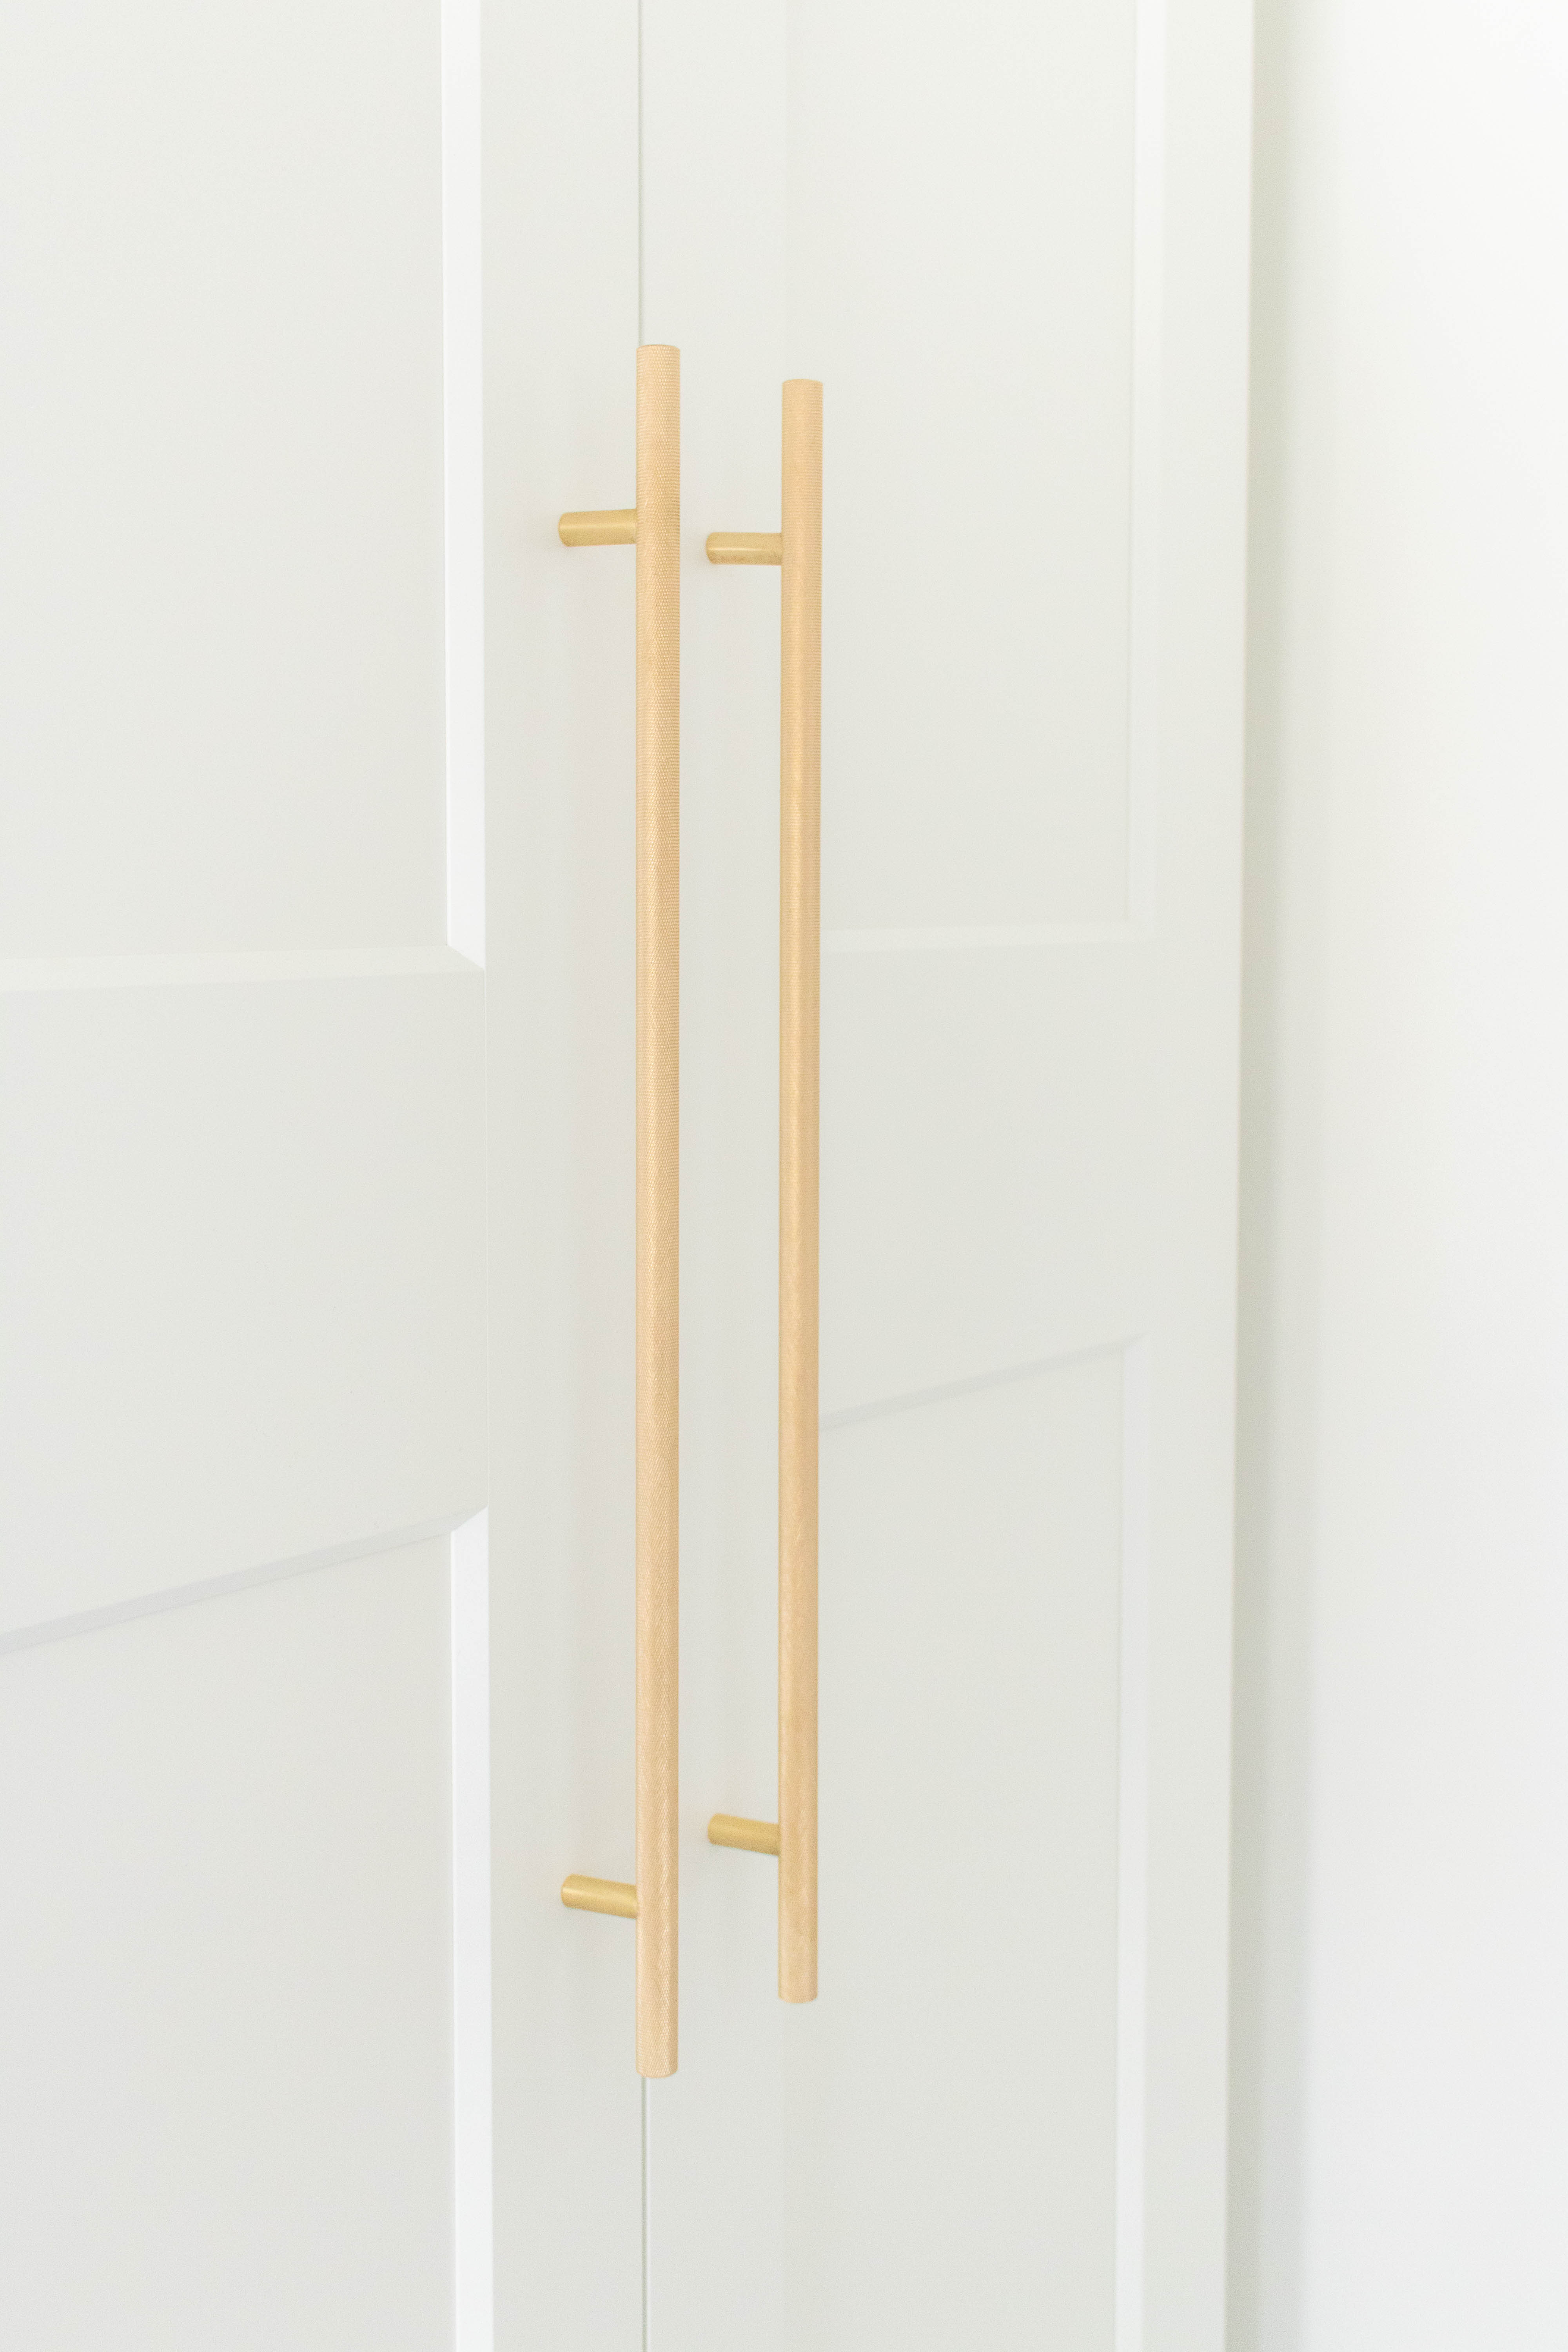
To evelvate the wardrobes, I added these gorgeous knurled handles from Dowsing & Reynolds. We also added one to the cupboard that was under the stairs (after we painted it), it just elevates it a little more than getting a standard handle. It’s all in the details after all.
THE FINER DETAILS.
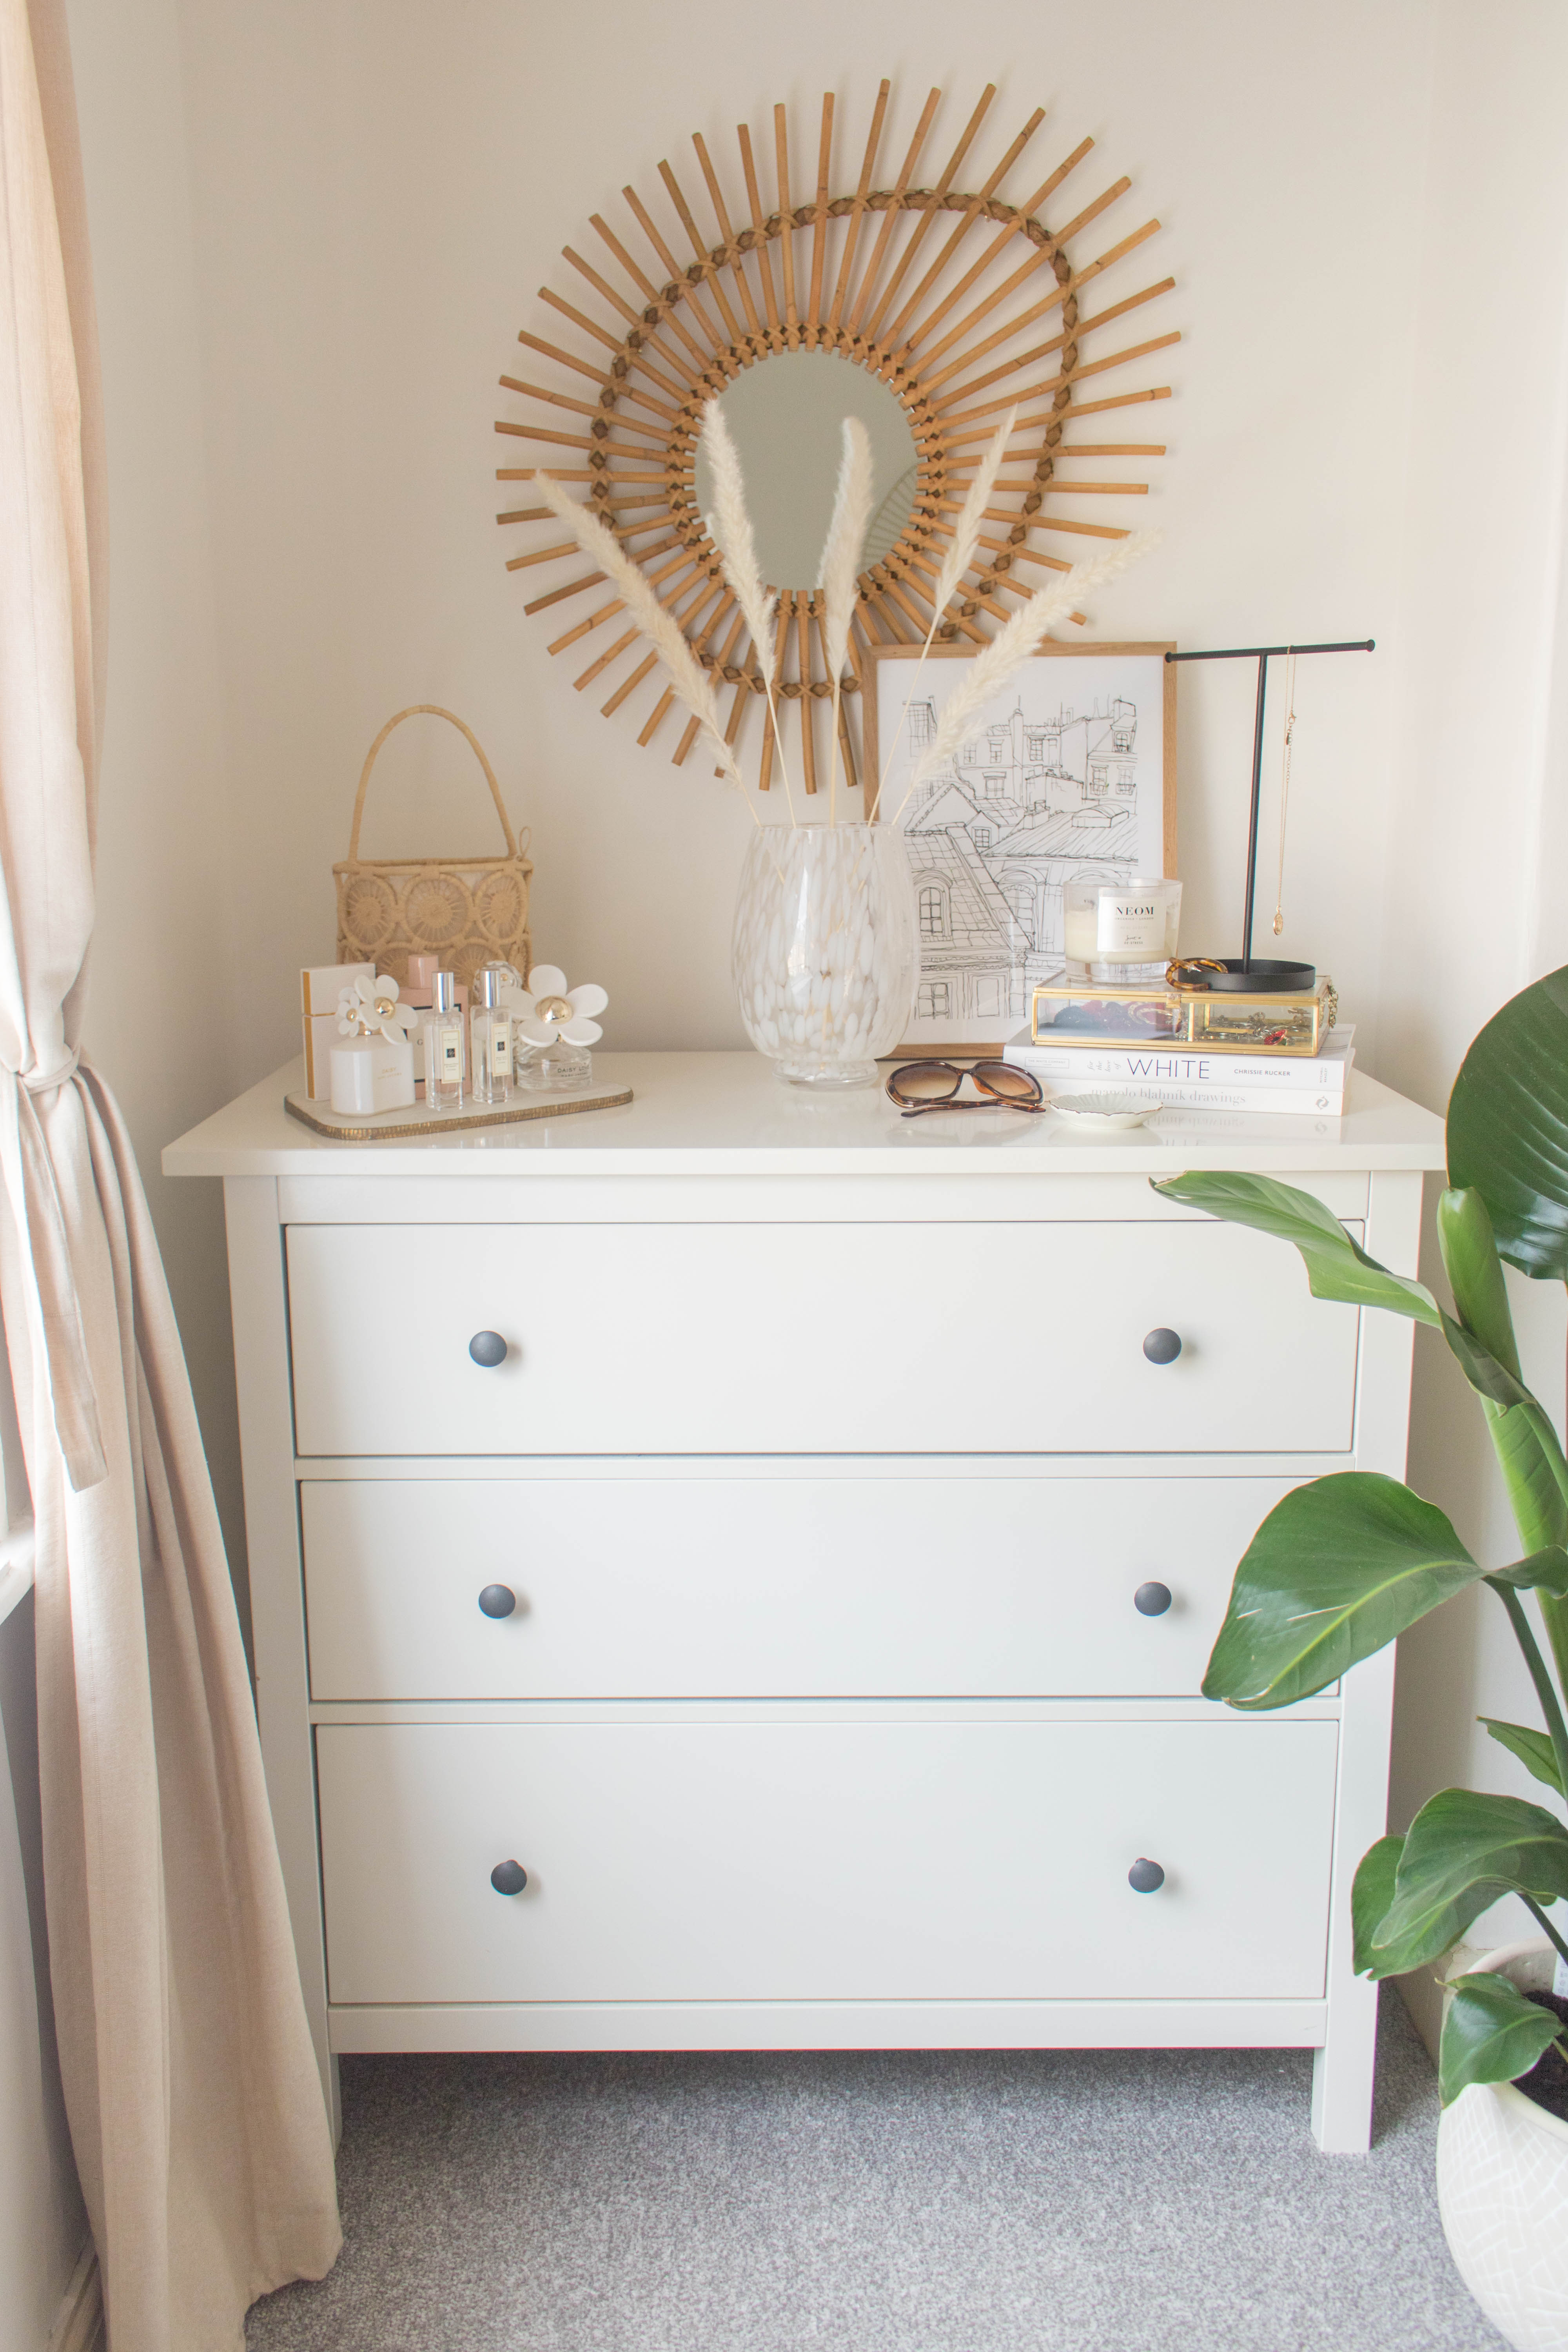
Once the ‘major’ things were completed, it was time for the details and finishing touches. First was the layout. Originally, I had most of the furniture (bar the bed) along oneside of the wall. I moved the dressing table to go in front of the radiator. Not ideal, but it breaks up the space more.
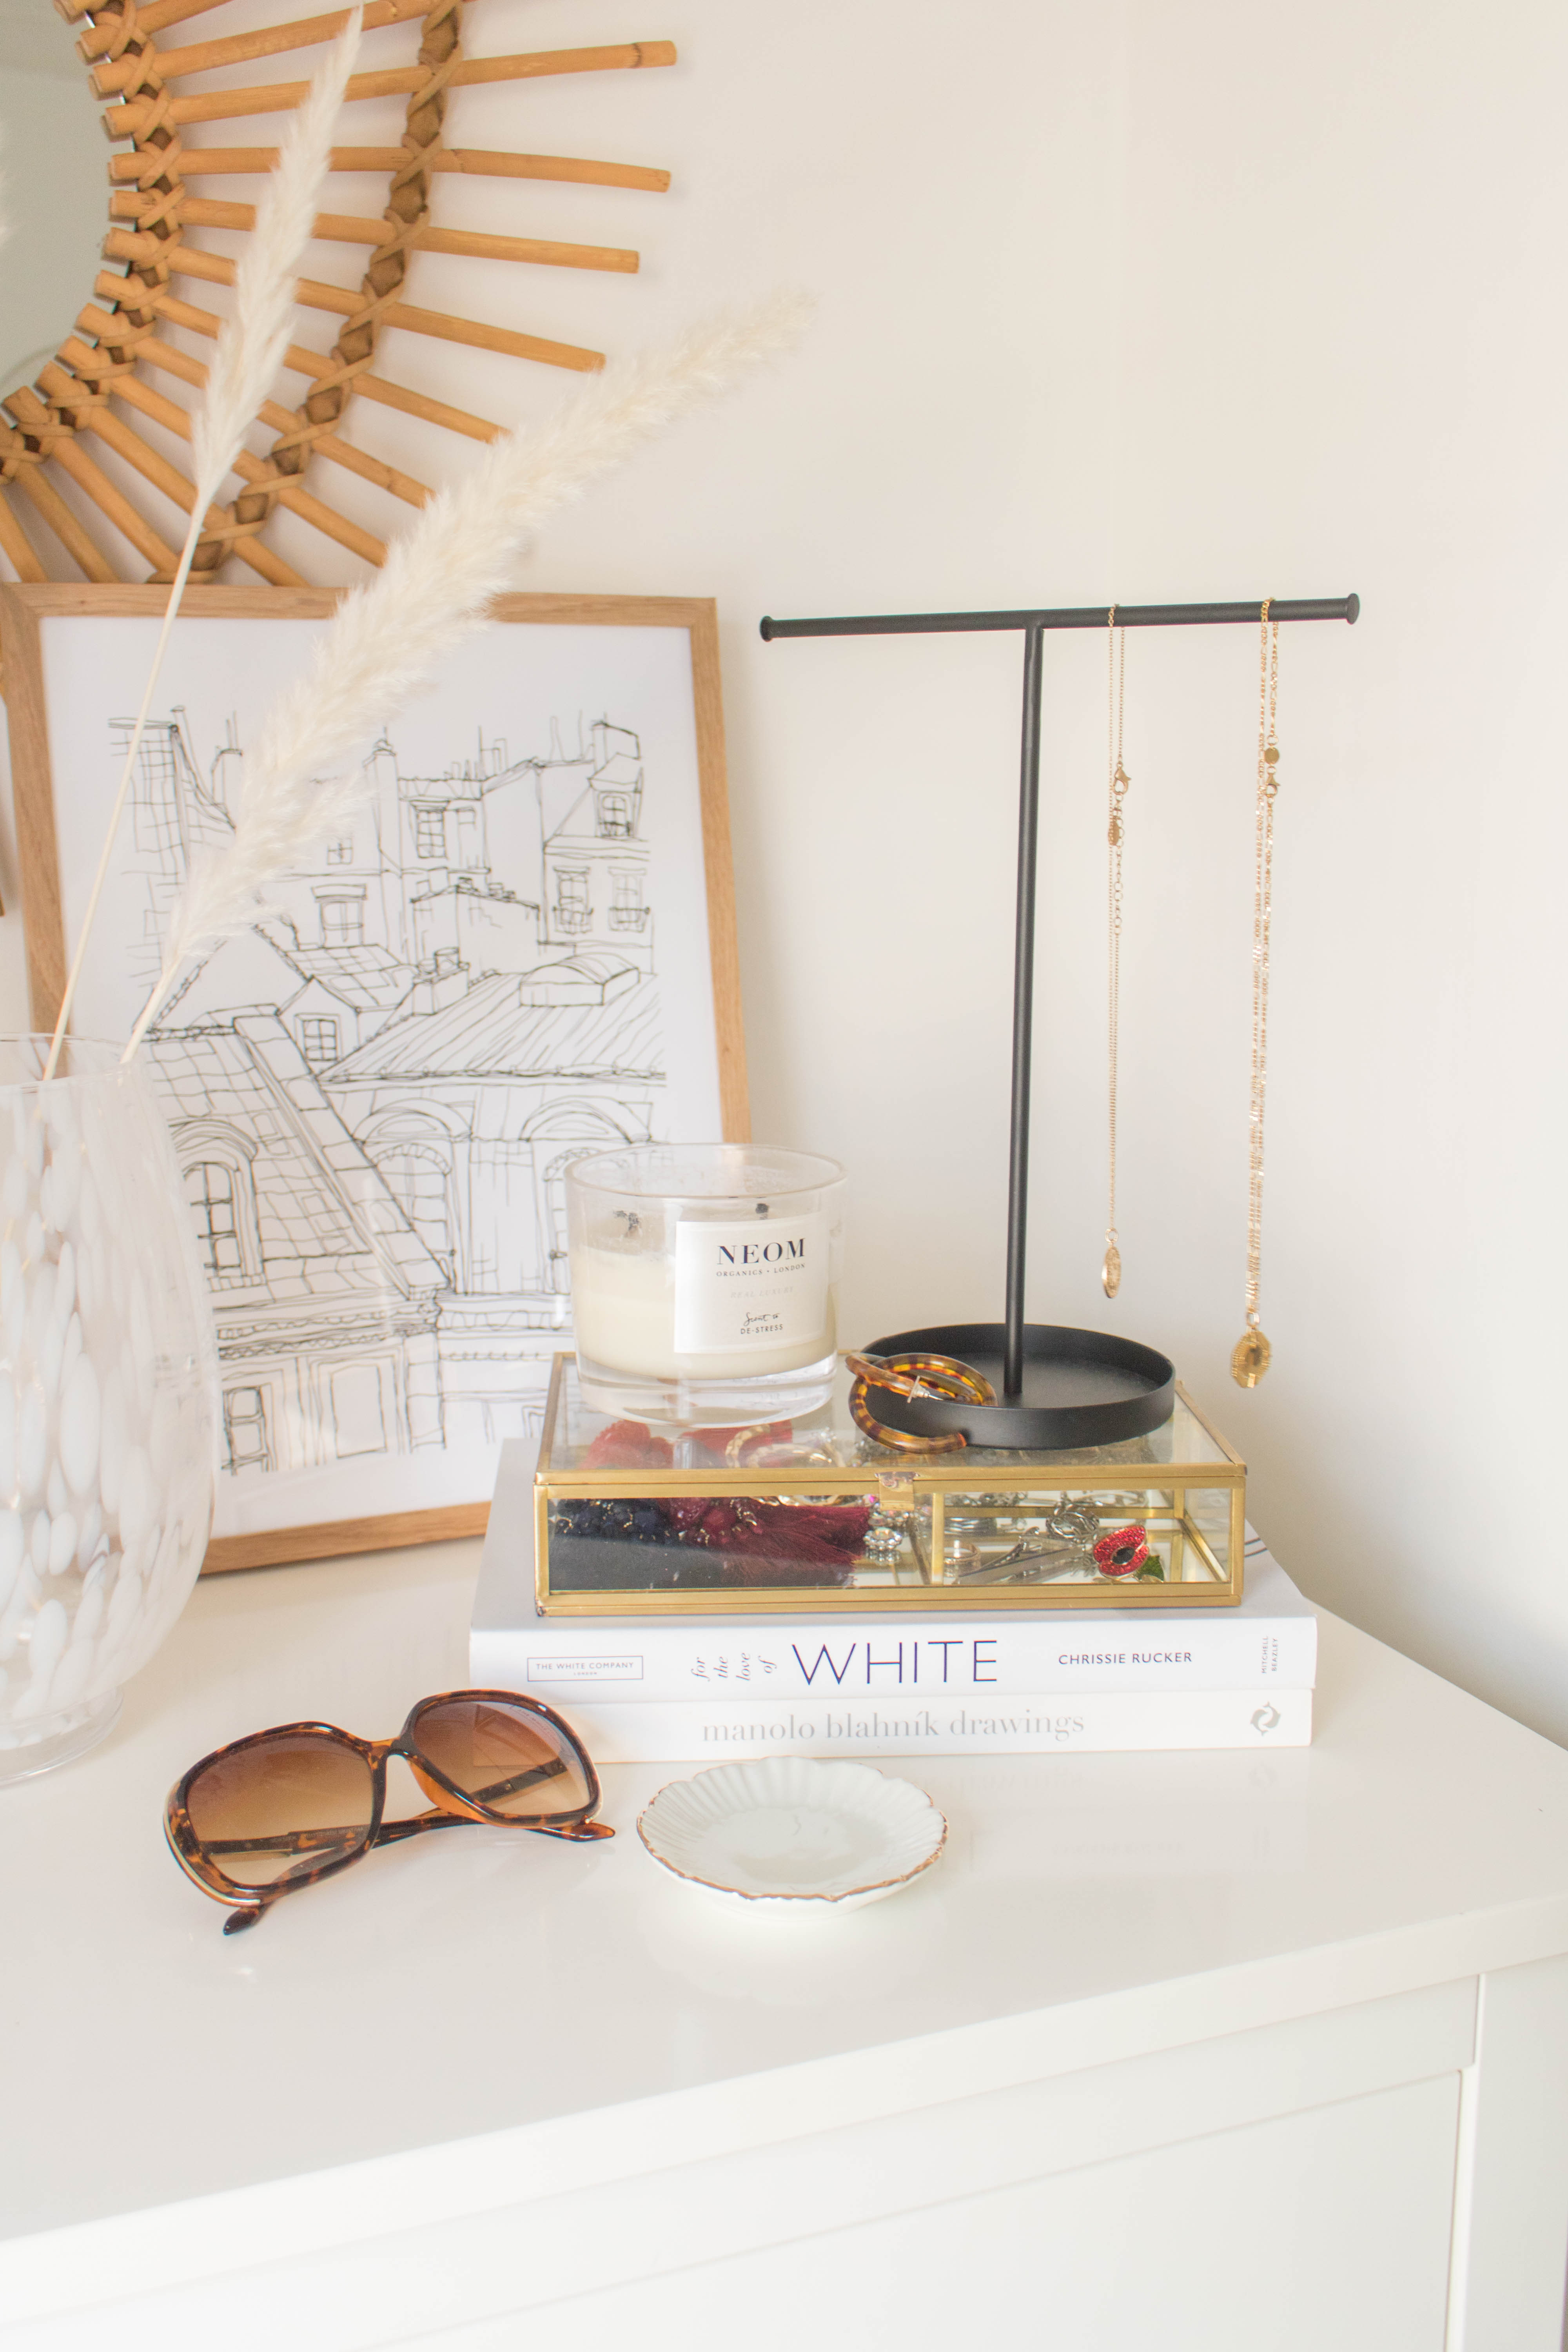
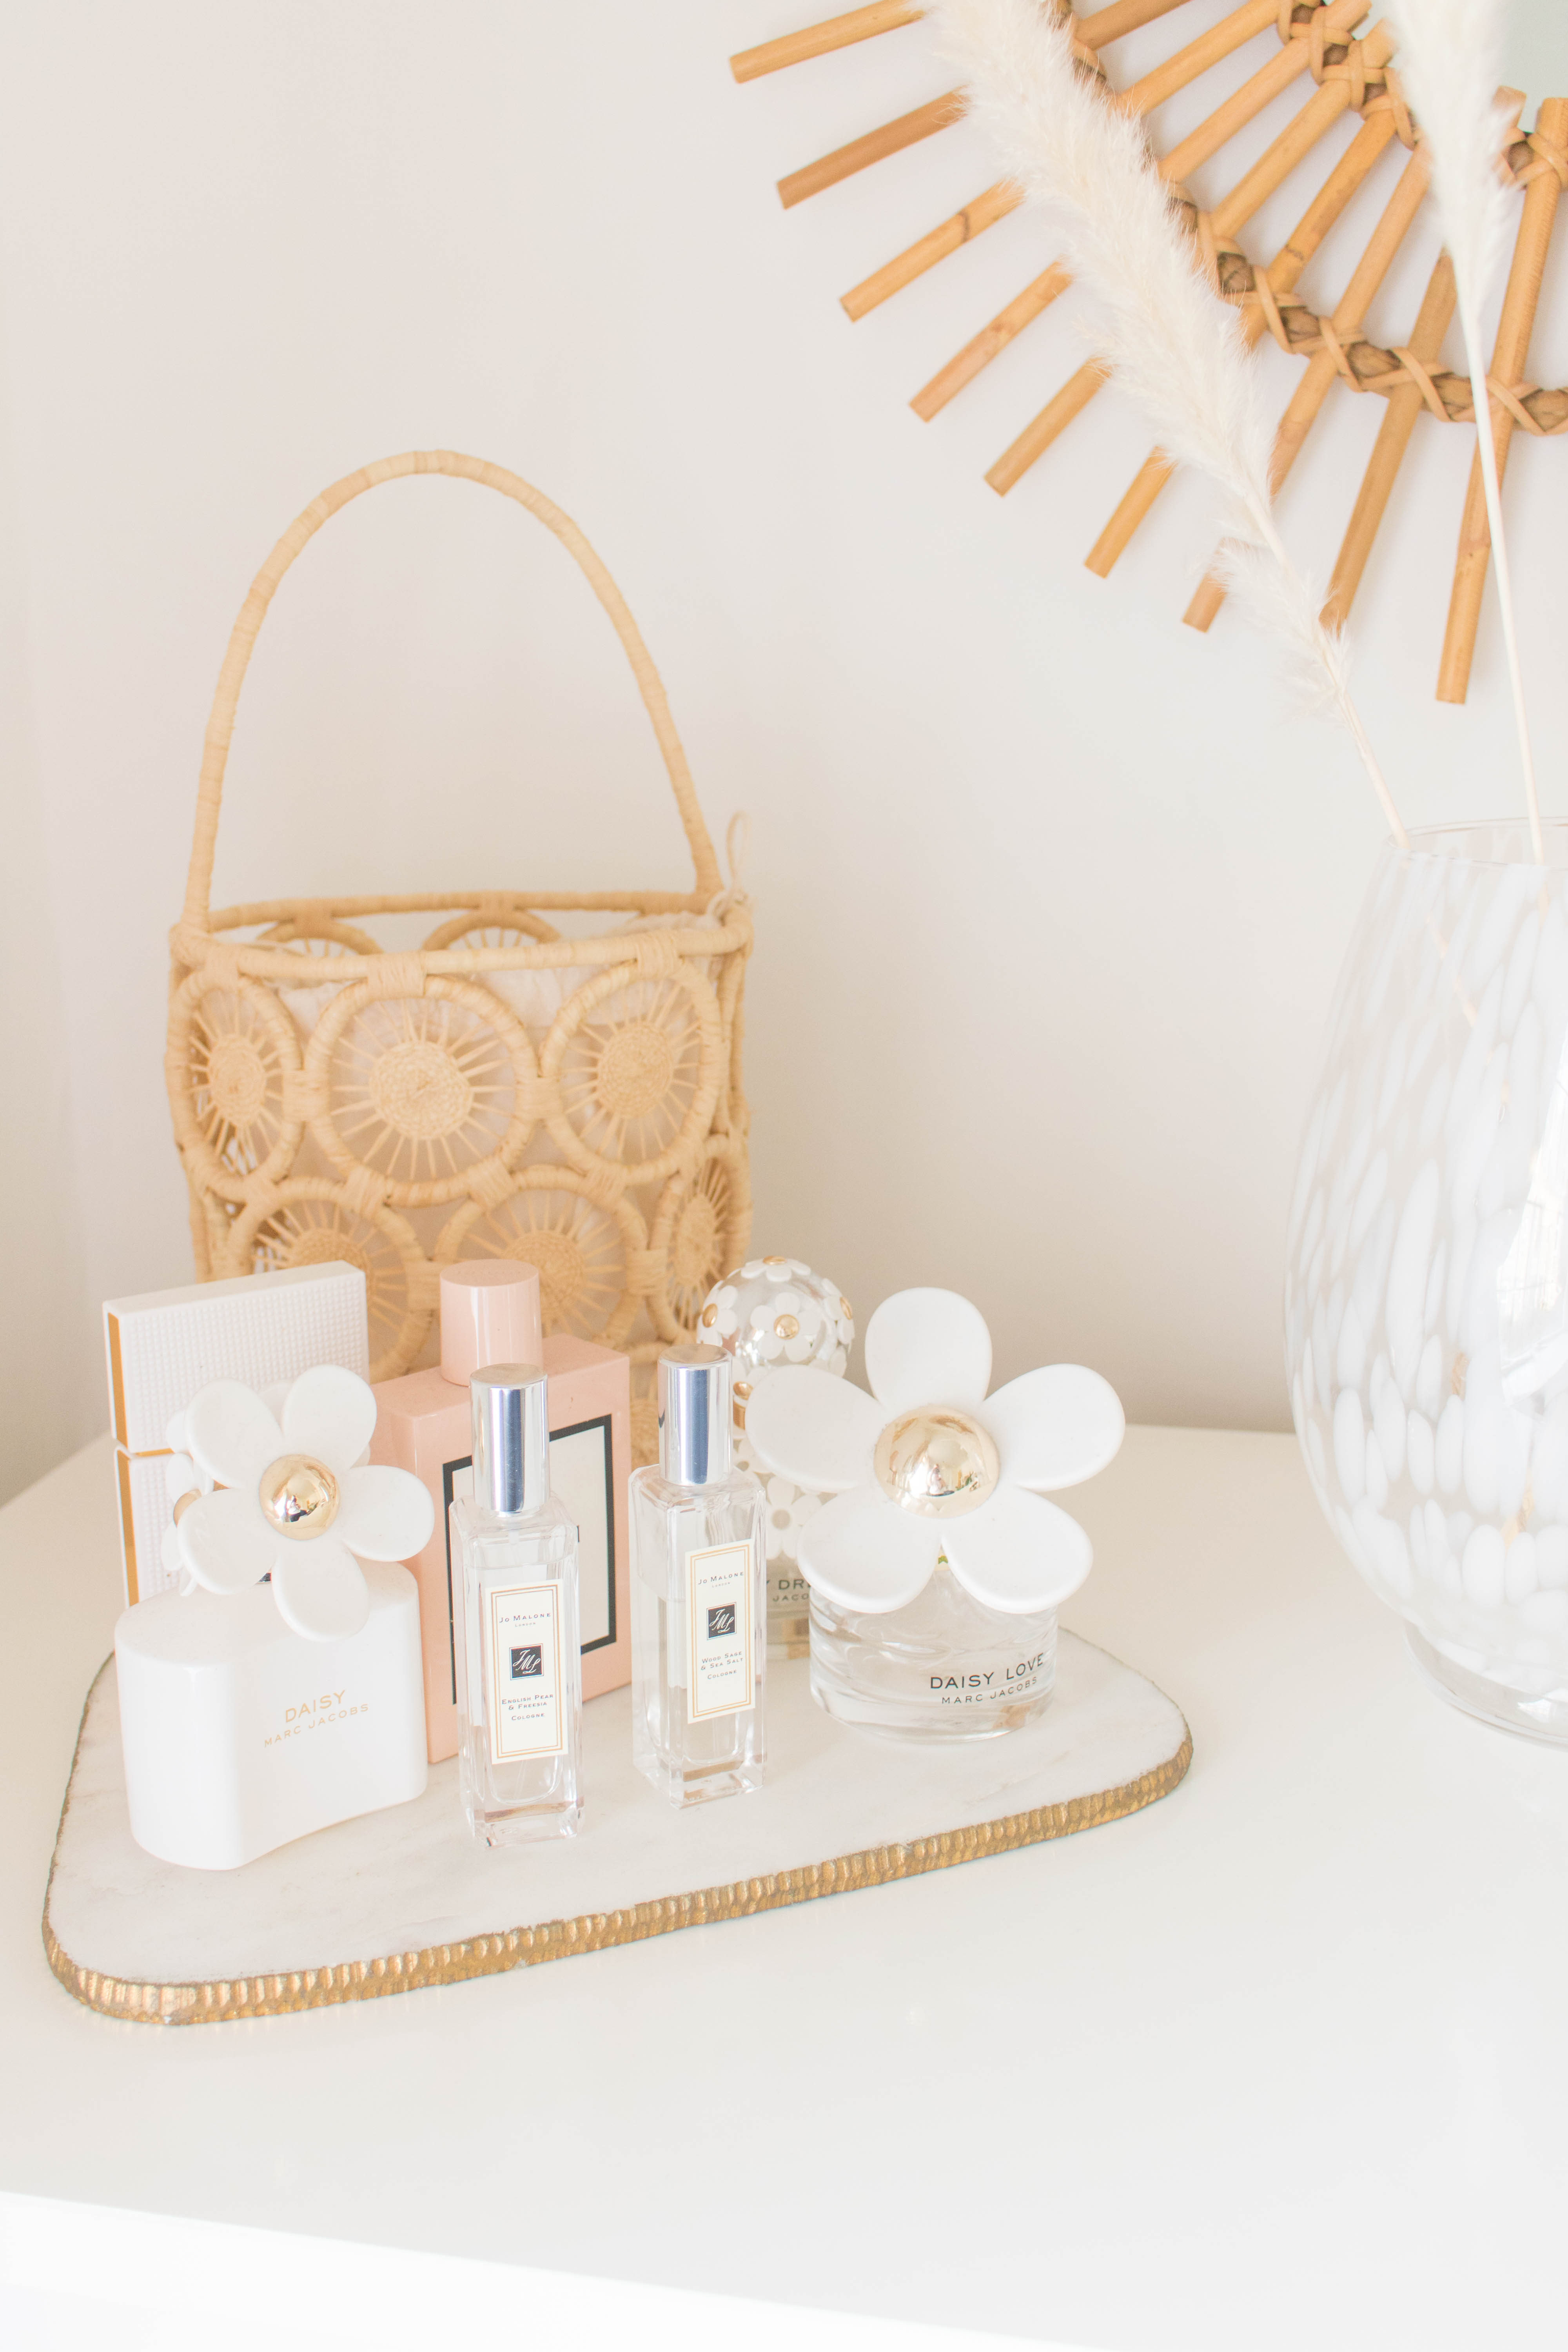
Next was a little more stylish storage. Particularly jewellery and make-up. I reduced the size of my usual Muji drawers that housed all my make-up and hid everything in the drawers. With a new larger mirror on the dressing table, it was needed to clear everything off and make it more simpiler. For the jewellery, I went with this gorgeous one from H&M Home. It stores all my jewellery really nicely. For my necklaces, I went for this jewellery stand which houses my two necklaces perfectly. I totally need to add more necklaces to my collection!
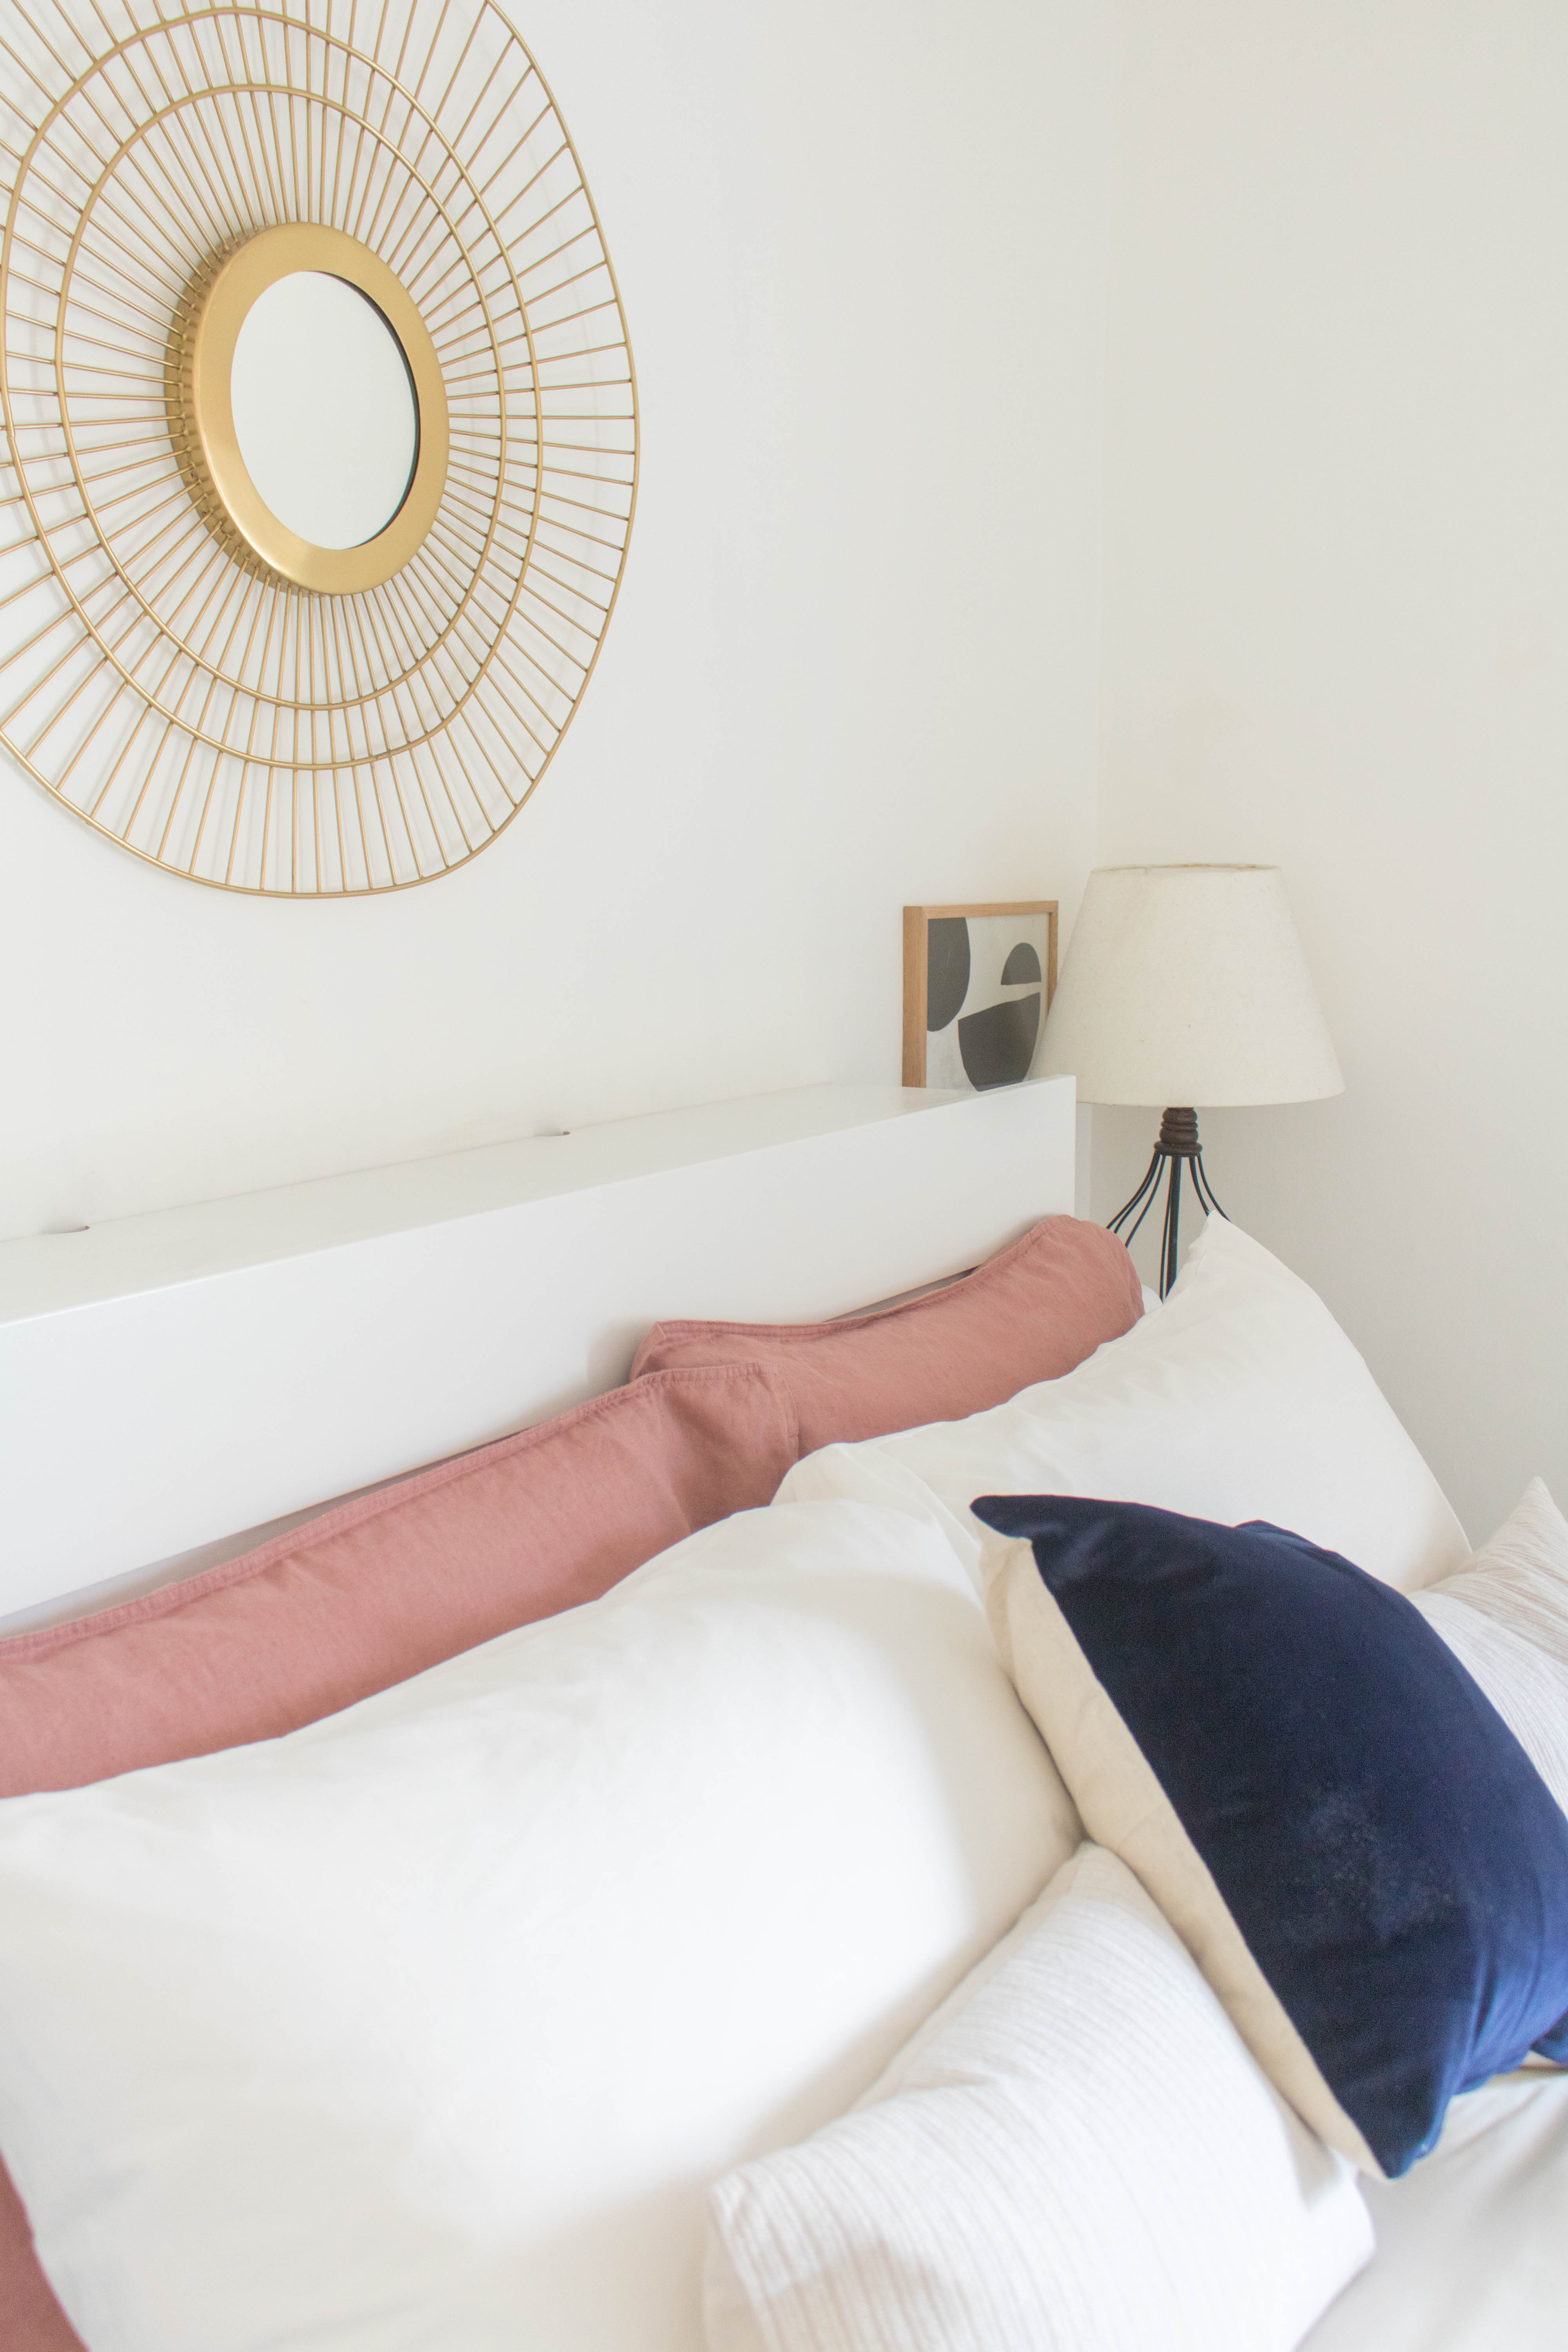
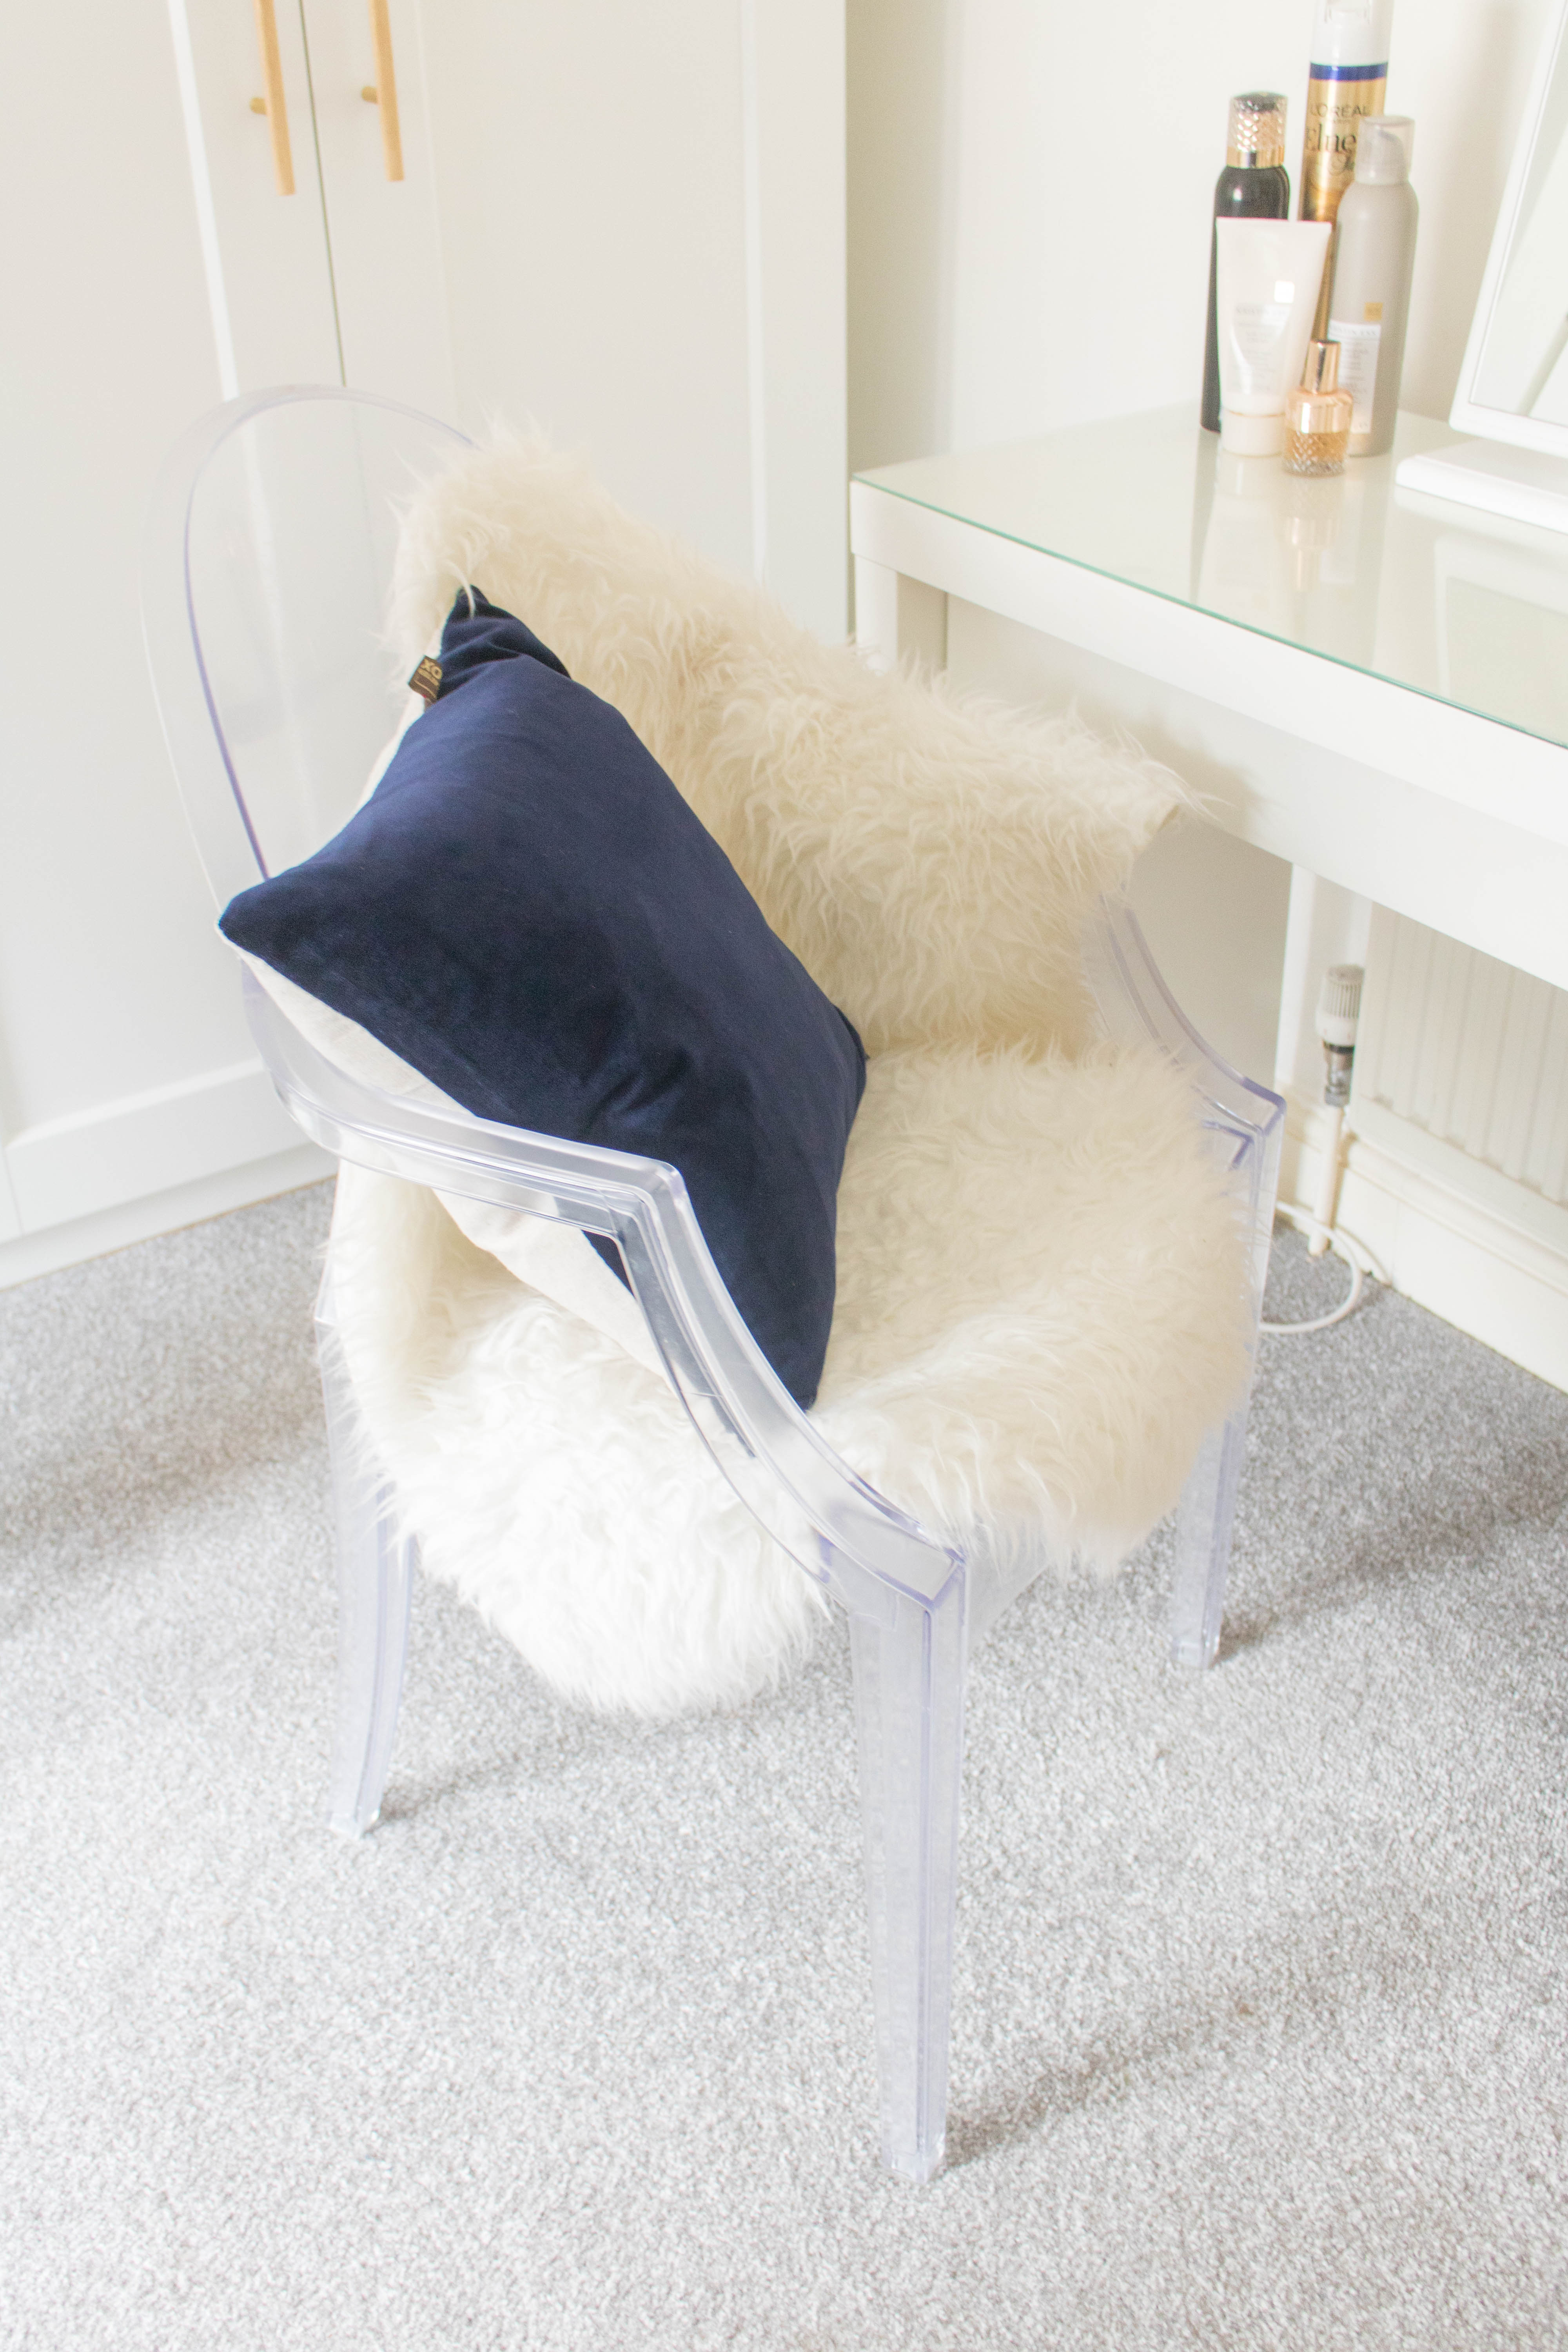
You’ll also notice that the jewellery stand is in black rather than my usual gold or white. I was really interested in bringing some dark accents into the bedroom. More warm and inviting. You’ll notice it in the Desenio artwork (which I will talk through in the next blog post) and in the bedding. I love me a dusty pink, but I was key to bring in some navy. This is where the throw and the pillows come into play. I feel that the combo of the colours makes the bed feel more warm and inviting. And it’s a perfect Pinterest moment, if I say so myself! After everything, we did notice that the wall above the bed was looking a little bare. Like really bare. Thankfully, I found this gorgeous mirror from LA Redoute, which really fills the space without taking over the room.
Almost at the end…
And that is it for the bedroom makeover. I’m so happy with the look of the room and feel of the space. We have two rooms left to give a makeover to. But you will be waiting until 2020 to see these makeovers. I made a promise to my husband that there’s no more DIYs this year. But garuntee come 1 January, I will be at it with the bathroom. That’s the next makeover. Also, a full house tour will be happening once they are done. I promise.
Here are the other makeovers if you’re interested: