My Top Tips for Applying Contact Paper to Your Kitchen Counters

The biggest difference to your kitchen…
Ever since I revealed our rental kitchen makeover, I’ve had a flood of compliments and questions on how we achieved it. It’s honestly quite humbling, the hard work that we put in is really appreciated and recognised. It’s even blown up on my Pinterest boards, something that I mentioned in my April goals.
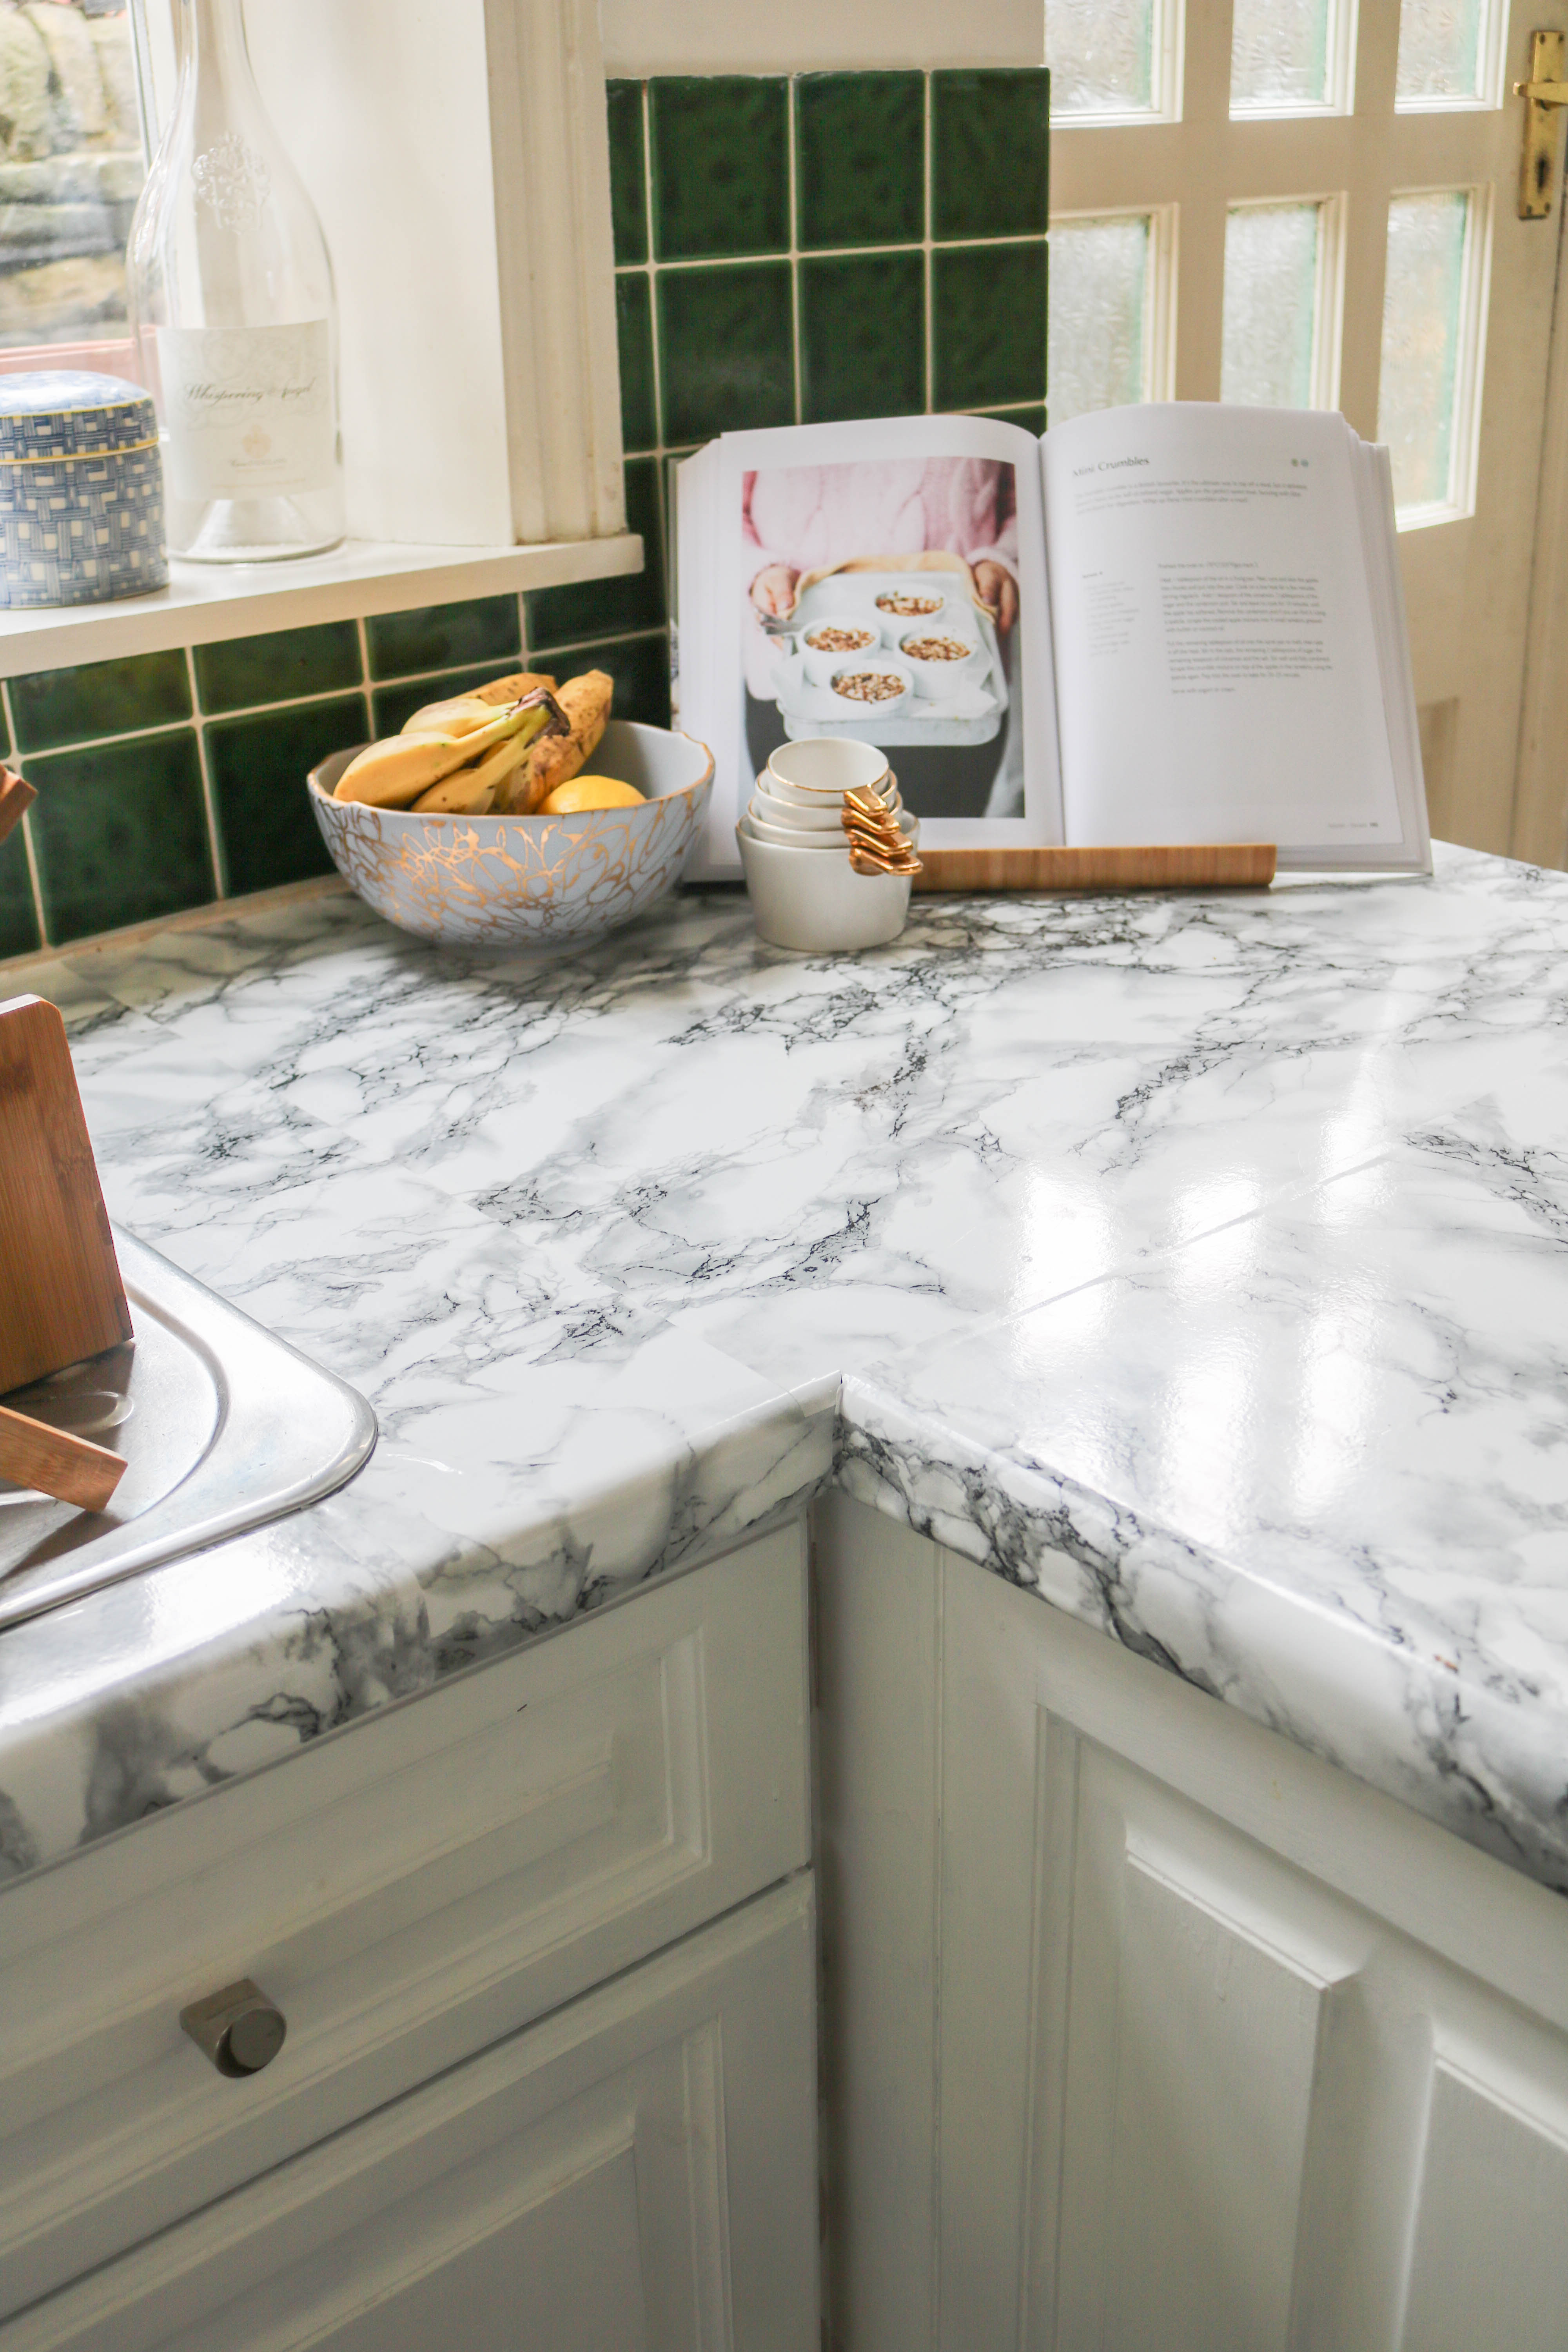
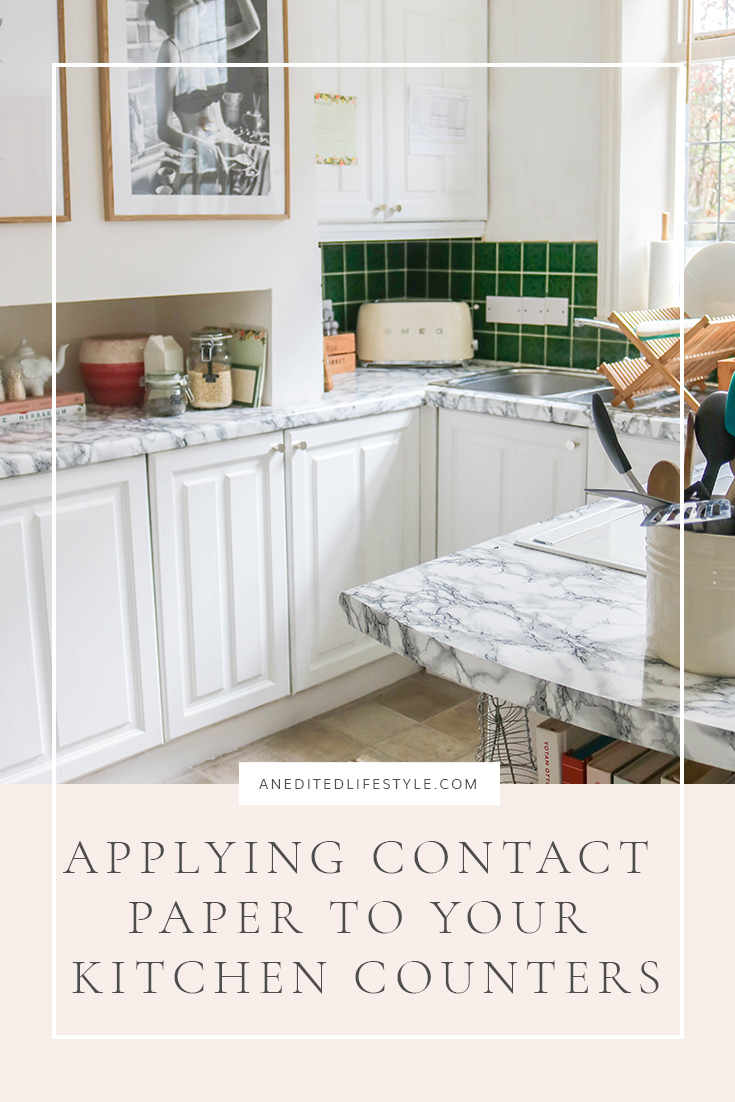
The biggest difference I saw in the room was when we applied the contact paper to the kitchen counters. It’s removable, heatproof (to a certain temperature) and just completely transformed our kitchen. It’s something that I’ve been shouting about from the rooftops to anyone who will listen to me. Also, it’s 100% worth investing in if you want to do anything to improve your rental home.
I recently asked on my Instagram Stories if you lovely lot would like some hints and tips on how to apply contact paper in your own kitchen, and you all said absolutely. So here are my top tips on how to apply contact paper…
You will need…
Contact paper, ruler, pen, scissors, Stanley knife, scraper, a cup of tea and patience.


How to apply contact paper.
BE PREPARE TO FALL OUT WITH YOUR OTHER HALF.
I’m coming out of the park with full honesty here. If you’re doing this with your other half or a friend, be prepared for some disagreements. I think Lee and I fell out a total of three times applying the contact paper. You’ll both work in different ways. You’ll both want to do it your way. Just take breathers and be patient with each other. And be prepared to make a cup of tea or two as an apology for snapping.
TAKE YOUR TIME.
This task takes time to ensure it’s correct. You want to line everything up correctly and be slow with peeling the contact paper back and sticking it down. If you get air bubbles, just gently lift back up and try again. You can also gently prick the bubbles with a needle to let the air out. Just take it slow and it will all be worth it in the air.
PREP YOUR SURFACES.
To ensure a smooth, wrinkle-free finish, you have to prep your surfaces. Give them a good clean and allow them at least an hour to dry. Preparation is the key foundation to getting your countertops looking fantastic with contact paper.


CUT THE CONTACT PAPER TO A MANAGEABLE SIZE.
I’ve seen one too many tutorials where the ‘expert’ tells you to apply it as a whole roll. For god’s sake, please do not do that! Unless you countertops are that long (the rolls are about 3 metres long, and if your rental kitchen is that big, where is this and can I sign a lease?) Measure your countertops and cut the paper to size. Especially when you’re going around the sink and cooker. Trust me, you’ll thank me later.
USE SEALANT TO PROTECT THE CONTACT PAPER.
Because it’s temporary, the contact paper will lift over time, especially if it comes into contact with the elements. To protect it from the heat and water, we have put sealant around the edges of the sink and cooker. This still can be easily lifted off once we remove the paper and allows it to last longer. Perfection.
I wish you all good luck with your contact paper projects. Your kitchens are going to look fabulous I promise!

Oh the difference it makes is AMAZING!
x Lisa | lisaautumn.com
It’s totally transformed the room 🙂 x
I love things like this, they are absolutely amazing!
Danielle xx
https://www.fashionbeautyblog.co.uk/
It’s great isn’t it? 🙂 x